
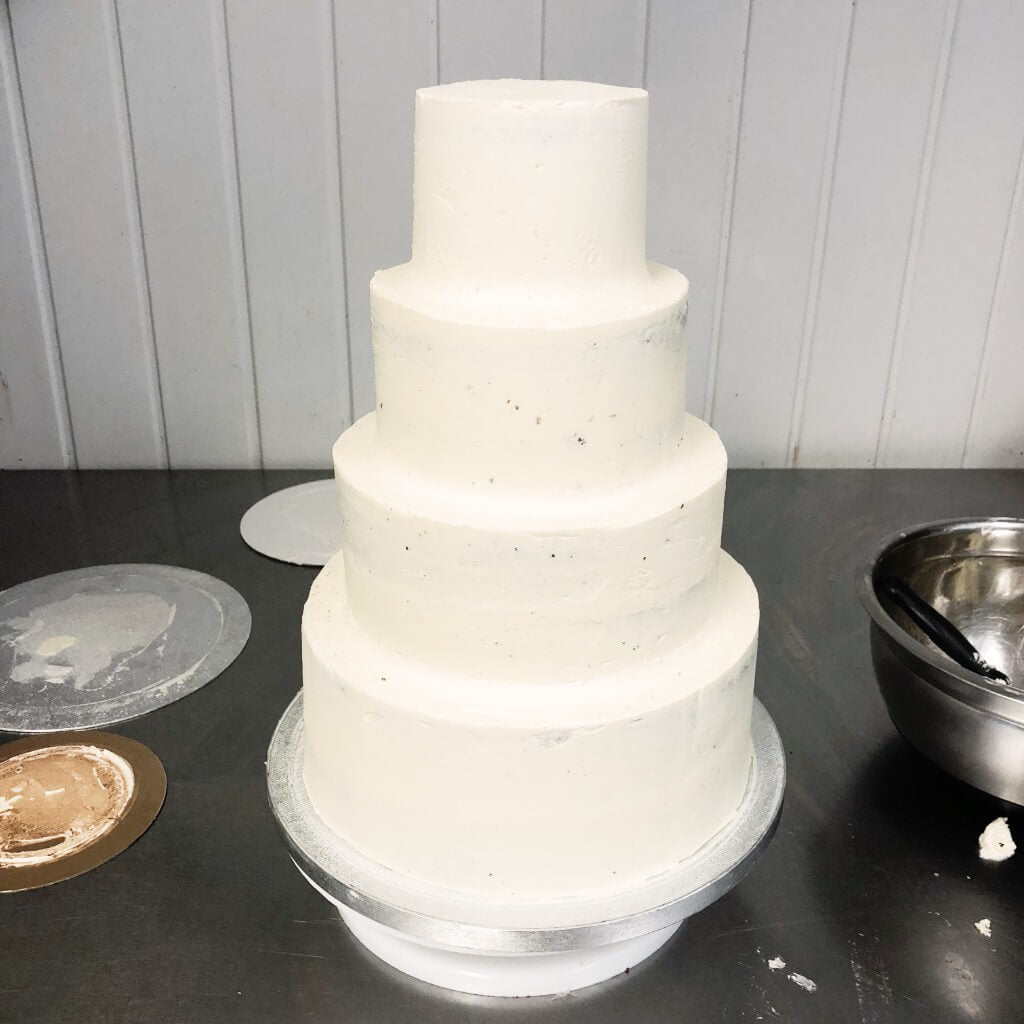
Important: Tiered cakes are heavy and their support requirements vary with diameter, height, filling, decoration and transport. This guide explains the general method used for standard stacked cakes; it is not a universal structural specification. Tall, unusually heavy or complex wedding cakes should be designed, transported and assembled by an experienced cake professional.
Every tier in a stacked wedding cake needs its own board, and every lower tier needs food-safe supports positioned beneath the board above it. The cake itself should not be expected to carry the weight of the upper tiers.

Equipment
- A rigid cake drum large enough for the finished cake
- A food-safe cake board beneath every tier
- Food-safe cake dowels or a proprietary tier-support system
- A cake leveller or serrated knife for levelling sponge only
- The correct dedicated cutters for the chosen supports
- A ruler, food-safe marker, palette knife and cake scraper
- Non-slip matting and suitable boxes for transport
Do not cut wooden or plastic supports with a kitchen knife. Measure them in the cake, remove them, then cut them away from the food using an appropriate clean tool. Check that every cut end is smooth, level and free from splinters or fragments before reinserting it.
Prepare The Tiers
Place the lowest tier on the cake drum. Every upper tier must already sit on a board matching its base diameter closely enough to remain hidden but large enough to support the cake.

Level, fill and frost each tier separately. Chilling buttercream cakes briefly can make them easier to handle, but the time required depends on the frosting and refrigerator. The cake should be firm enough to move without being frozen solid.


Plan The Support Pattern
Place an empty board matching the next tier gently on the lower cake to mark its footprint. Supports must sit inside that footprint and be distributed evenly so the board above cannot tip or flex.
The number, diameter and pattern of supports depend on the weight and span of the tier above. There is no safe universal rule such as a fixed number of dowels for every cake. Follow the support manufacturer's guidance or a plan established by an experienced cake maker.

Measure And Cut The Supports
- Insert one support vertically until it touches the board beneath the cake.
- Mark the point level with the cake surface using a food-safe marker.
- Remove it and cut it with the correct dedicated tool away from the cake.
- Use that first support only as a guide when the cake surface is genuinely level. Where the surface varies, measure supports individually.
- Reinsert every support vertically. The tops should finish level with one another so the next board rests evenly.
A central support inside a single tier may form part of the pattern, but it does not replace the surrounding supports carrying the board above.
Place The Next Tier
Spread a small amount of buttercream within the marked footprint to reduce movement. Lift the chilled upper tier by its board, keep it level and lower it into position without pressing fingers into the frosting. A wide palette knife can help release the board once centred.


Repeat For Further Tiers
Each tier that carries another tier needs its own correctly planned supports. Repeat the measuring, cutting and placement process, reducing or changing the support pattern only because the load and board size have changed, not because the cake is nearer the top.

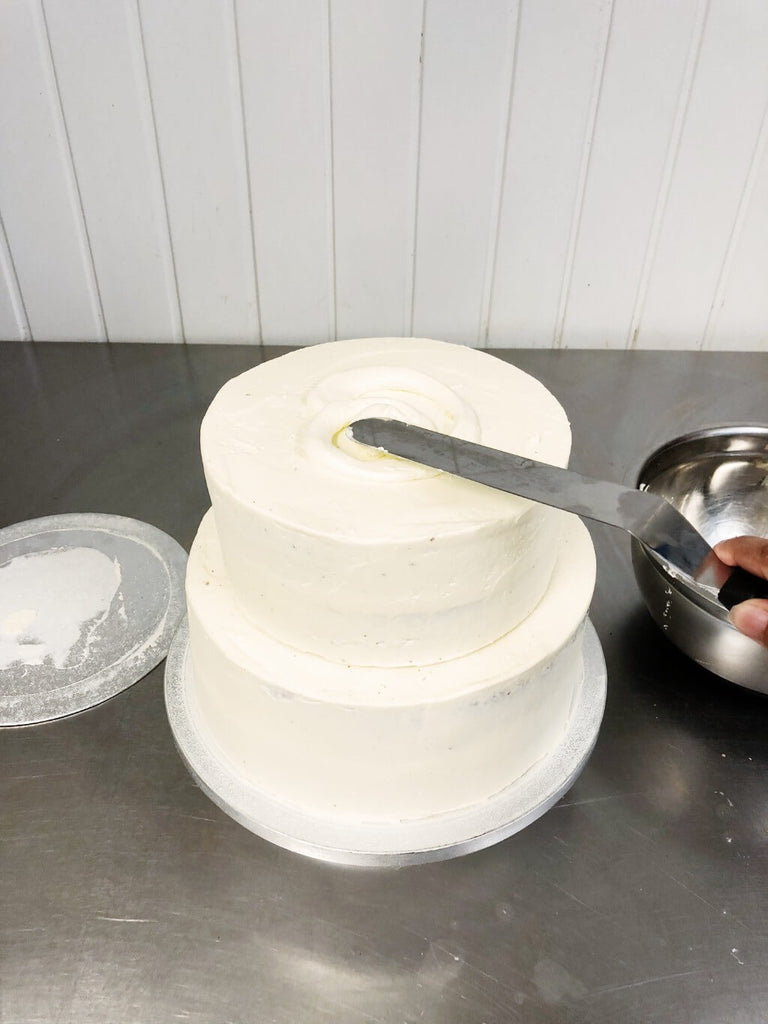


Add The Top Tier And Finish The Seams
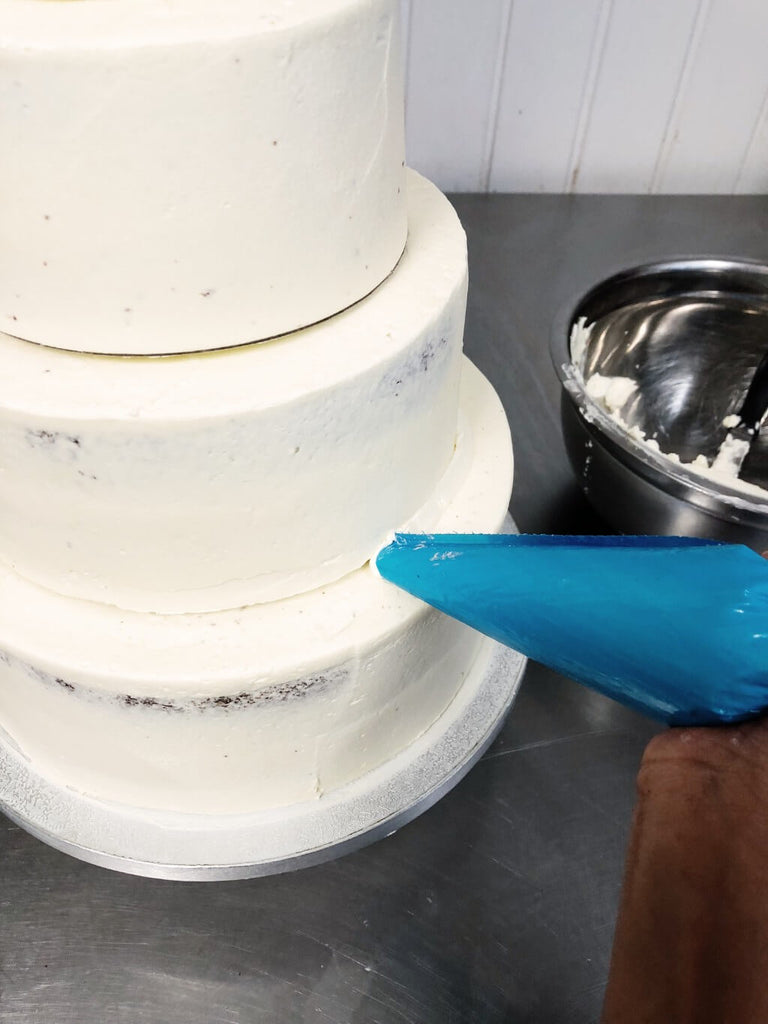
Lower the final tier into position and check the cake from several angles before finishing. Small gaps at the base of tiers can be covered with a controlled border of buttercream, piping or another planned decoration.



Central Rods And Tall Cakes
A central rod is not a last-minute fix pushed through ordinary cake boards. It should only be used as part of a system designed for it, with compatible boards prepared before assembly. Forcing a rod through an assembled cake can shift tiers, damage boards and introduce fragments.
Very tall cakes, dense fruit cakes, separated tiers and unusual structures require individual engineering decisions. Where there is doubt, stop and obtain professional advice rather than adding more height.
Transport And Venue Assembly
Whenever practical, transport heavy tiers separately and complete the final stacking at the venue on a level, stable table. Confirm access, stairs, parking, room temperature and the final cake position in advance.
- Use rigid, level boxes and non-slip matting.
- Keep every tier level during lifting and travel.
- Never lift an assembled cake by an upper tier or by the edge of a thin board.
- Do not leave a tall cake unattended on an unstable, folding or uneven table.
- Tell the venue about internal supports so they can remove them while portioning.
Common Questions
How many supports does each tier need?
There is no single number. It depends on the support system, cake size, board span and weight above. The manufacturer's instructions or a professional structural plan take priority over a generic online count.
Must a dense tier go at the bottom?
Every tier is carried by its board and supports, but the complete design still needs sensible weight distribution. A dense or unusually heavy tier can change the support requirements and is best planned before baking.
Can the cake travel fully assembled?
Smaller, properly supported cakes sometimes can, but height, route, temperature and vehicle setup all matter. Separate transport and venue assembly is usually the safer approach for large wedding cakes.
Browse our current wedding cakes and read our wedding cake planning guide.



How do you put the dowel pins in the upper cakes are they surpose to go thought cake board to keep them straight and level and what is the best cake mix and iceing to use
I have an 8 teir wedding cake to make.all 5 from top is styrofoams.then the rest below are all cakes pls how do I stack and dowel.thanks for quick response
How do know where the center hole is where you drill the boards? to put the center rod in the top through all the cakes tiers?is there a way to mark it?
I’m a soon to be wedding cake baker and this tutorial has answered many of questions and I can’t wait to apply your tips. Thank you very much 🤗
What is the point of the dowels in each tier if they don’t go through each tier for support (to hold them all together)?
Thank you for this great tutorial…I was wondering if you could tell me…if making a wedding cake (4 tier) how can I add lights to it??
My daughter will be getting married in July and has asked me if I could make the cake. I am not a professional but I do believe I have learned how to make them and they are tasty but I don’t know if adding lights is something I can do and not mess up so any help would be greatly appreciated. :)