
There’s nothing quite like the smell of freshly baked brownies. And nothing quite as soul-destroying as realizing half of them are cemented to the tray like superglue. Don’t let your bakes turn into a tragic excavation site—grease your tray properly, and save yourself the heartbreak.
This is why it is key to line your baking tray, yes, even non-stick ones, and we’re here to show you how, in simple steps. Greasing your baking tray is a very quick step, but it is a key one that will ensure the following:
- bakes come out in one piece
- bakes do not have chunks stuck to the trays or tins
- trays and tins aren't damaged with burnt remnants
- trays and tins are easier to clean
Prior to starting however, you have to know your tray (or tin).
There are lots of different types of baking trays and tins.
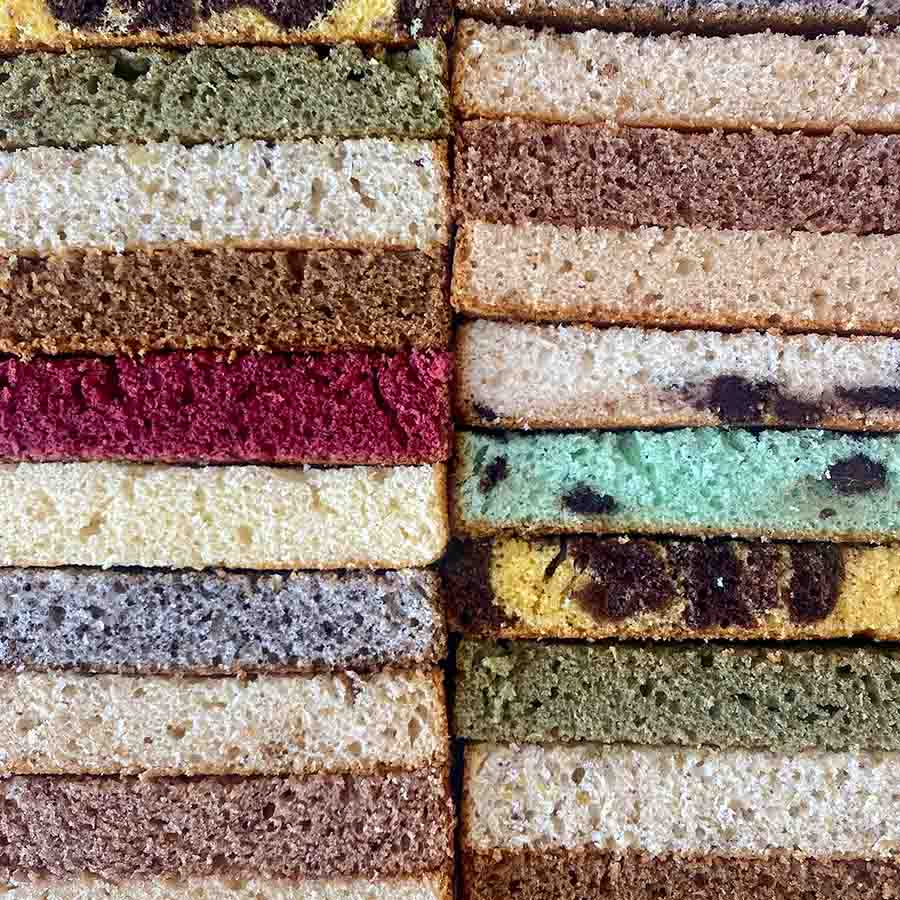
Not all trays are created equal. Flat trays = cookies. Deep trays = brownies. Loaf tins = stubborn as hell, so definitely line those. Cupcake trays? Use cases unless you enjoy scraping tiny cake fossils off metal. And yes, even your ‘non-stick’ tray is lying to you - grease it.


Finally, if you are baking a large cake you’re best with a round tin. These often have spring releases on the side, to make it easier to remove your cake, or a removable base.
These days, many of these tins will be non-stick. We do however insist on greasing your tray as it will not ruin your baking but it will prevent any sticking. Yep- even non-stick trays stick sometimes, particularly if the tray is older and well used.
For this demonstration we will be focusing on the flat tray, but the method is the same regardless of your choice of tin.
Make sure your tray is clean
Previous mistakes with greasing trays can lead to burnt remnants on the tray and this is the last thing you want- they can leave an acrid burnt taste in whatever you are cooking. Make sure the tray is thoroughly clean and dry.
 Pick your grease of choice
Butter, shortening, oil sprays—take your pick. Melted butter spreads like a dream, but if you’re lazy (or hangry), an oil spray does the job. Just don’t go overboard unless you want your cookies sliding around like they’re at an ice rink.
 Spread grease evenly
Using kitchen paper or a pastry brush will stop the process of greasing being too messy and allow you to get a thorough even coating. Add a little of the grease to this kitchen roll/brush and grease the tin by rubbing it all over the interior surface. This creates a layer of oil and when this is heated up when cooking your baking, it stops the baking sticking to the surface of the tray. 
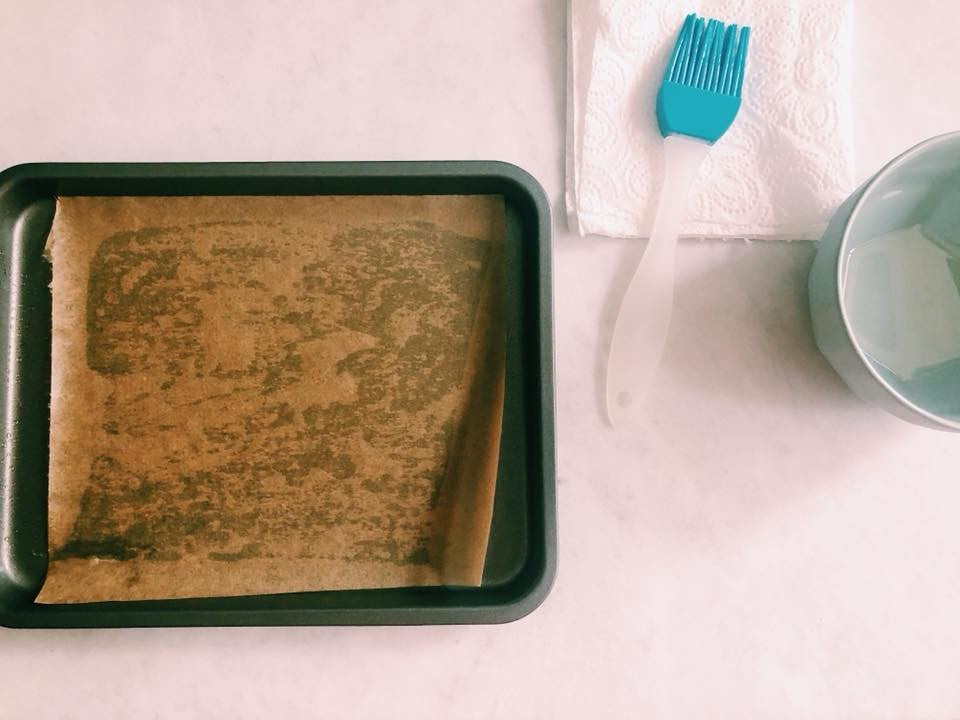
 Flour or grease proof paper (baking paper)
Think butter alone will save you? Think again. Some bakes (looking at you, sticky brownies) need an extra safety net. A sprinkle of flour or a sheet of baking paper can mean the difference between ‘easy lift-out’ and ‘rage-inducing tray disaster.
If you decide to also use flour, simply take a tablespoon of flour and deposit this in the greased tray. Gently tap and shake the tray around until the flour has coated all the surfaces. Tap any excess into the bin. This means the grease will stick to the flour when it is cooked and not harm your baking. We would recommend using whichever flour is used in the recipe. If no flour is used, a plain white flour is fine. If the recipe includes chocolate it can also be nice to use cocoa powder.
Using grease proof paper can make it easier to remove certain items, such as a loaf bake or heavy cakes such as fruit cake. Some people like to only line the base of the tin, whilst others prefer to line the sides as well. To use greaseproof paper, you still must grease the tray and then you add the grease proof paper cut to the shape of the tray. Using grease before adding the paper will stop the paper from gathering and make it easier to add your mixture.
 Bake, allow to cool and remove
Before trying to remove your baking from the tray, make sure you allow it to cool fully. When it’s time to remove your baking, make sure to use an item that does not have sharp edges, such as a knife, as this can destroy your tray by scratching it. A spatula or pallet knife works well.
Cleaning baking trays and tins
Burnt-on cake crimes? Don’t reach for that metal scourer unless you want to murder your tray. Instead, soak it in warm soapy water, add a bit of baking soda, and let science do its thing. Your arms (and your tray) will thank you.
Do the following:
- Cover the base of the pan with warm water
- Add a tablespoon or two of baking soda to make a paste
- Let the paste sit in the pan for a few hours (or overnight, depending on the burn)
- Add another two teaspoons of baking soda and use a dish sponge to scrub the burnt remnants off
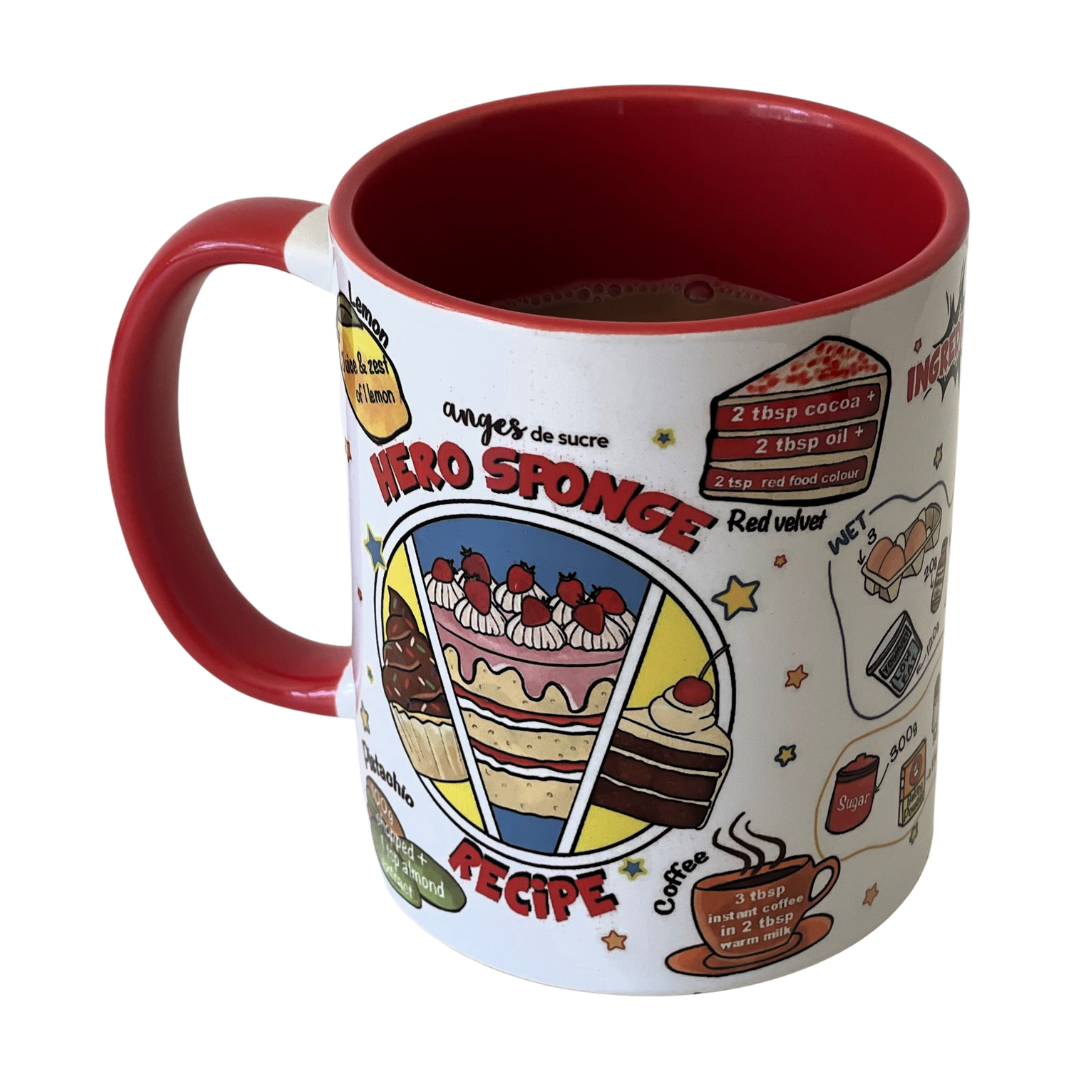
Want a bake that slides effortlessly out of the tin, no prayers needed? Try our Hero Sponge is the best sponge recipe. It’s fool proof, tray-friendly, and so good you’ll wonder why you ever bothered with anything else. Download it now and get baking!


Paul D. Rickert
June 17, 2024
He has Fry in his name however