

I was never one for the geode cake trend – never understood it, never got behind it.
Because:
- Why would you want to intentionally cut out large chunks of delicious cake and replace them with hard lumps of coloured sugar that you could lose your teeth on?!
- Why do they look like vajazzled hoo-haas??
I get that a fair few people love it, hence why it’s even a trend, and I’ve missed out on a few bucks passing on enquiries for it but I’m super excited about, what I’d call, its new and improved version – The Fault Line Cake!

It’s not the same as the geode cake, so maybe it’s not a new or improved version but is actually a whole new style of its own, but it’s similar in the sense it’s a bit “geo-ey”, like mimicking a fault line. Instead of carving out actual chunks of cake, lines of buttercream are swiped out and filled with sprinkles. So you get ALL the cake, ALL the gorgeousness, and no vajazzling.
The making of the fault line cake is a bit messy – sprinkles get everywhere. It’s also a bit more time consuming as it needs intervals of chill-time in the fridge. But it’s effective, FANCY, and delightful.
You’ll need a few basic cake decorating tools for this style – cake leveller, palette knives, cake decorating turntable, cake scraper, paint brush, and piping nozzles. I’ve got them all linked in my Amazon shop (affiliate links) and you’ll be pleased to know they are all good value finds and you’ll be using them for many more cake decorating projects.
Fault Line Cake Recipe
Ingredients
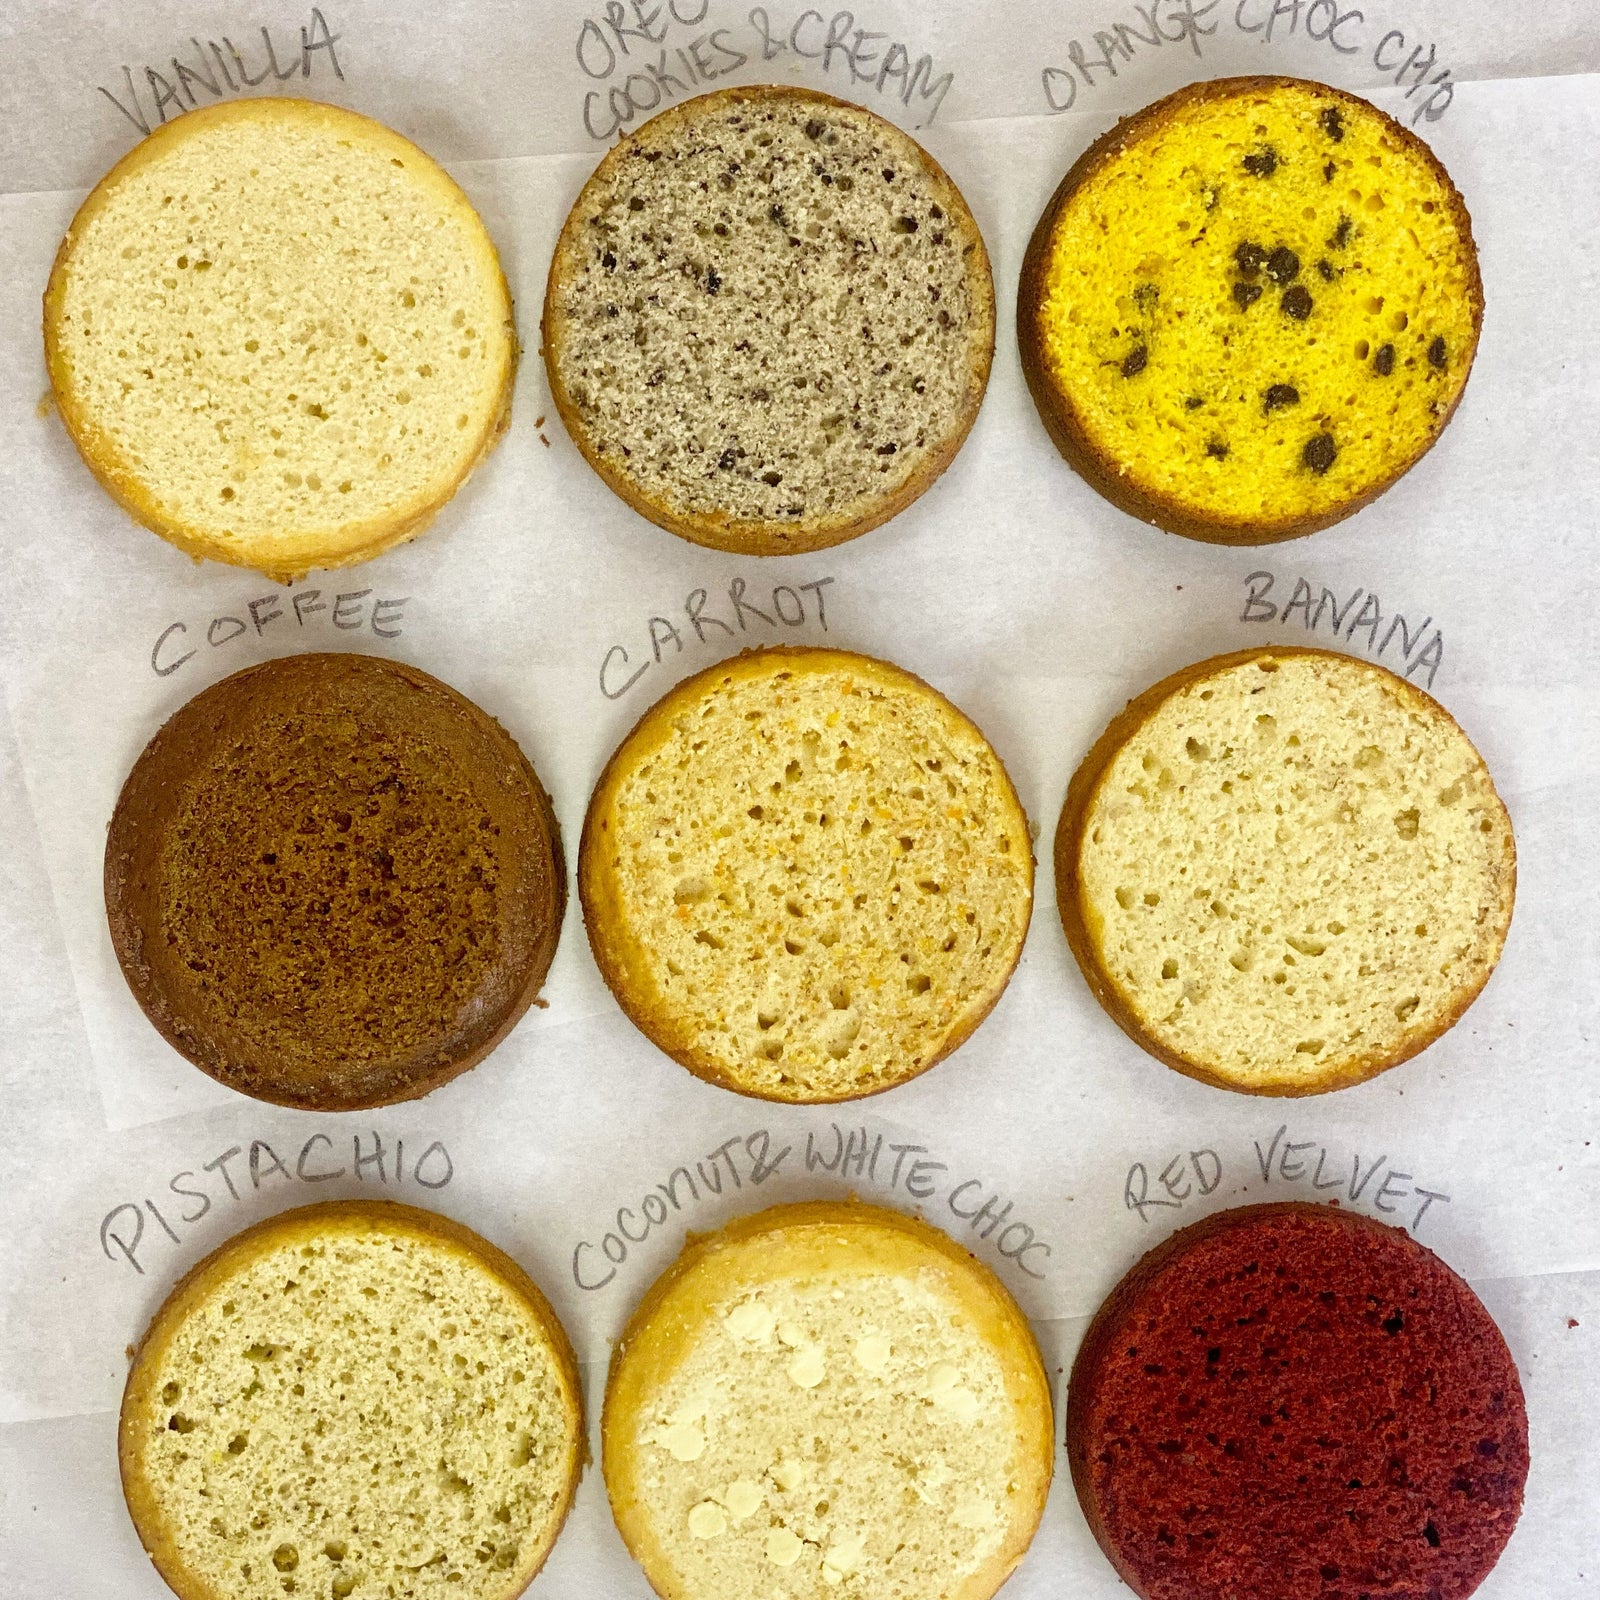
Chocolate Cake Sponge
You can use any sponge recipe of your choice, but I love our chocolate cake sponge recipe so will be using it for this as the layers look amazing.
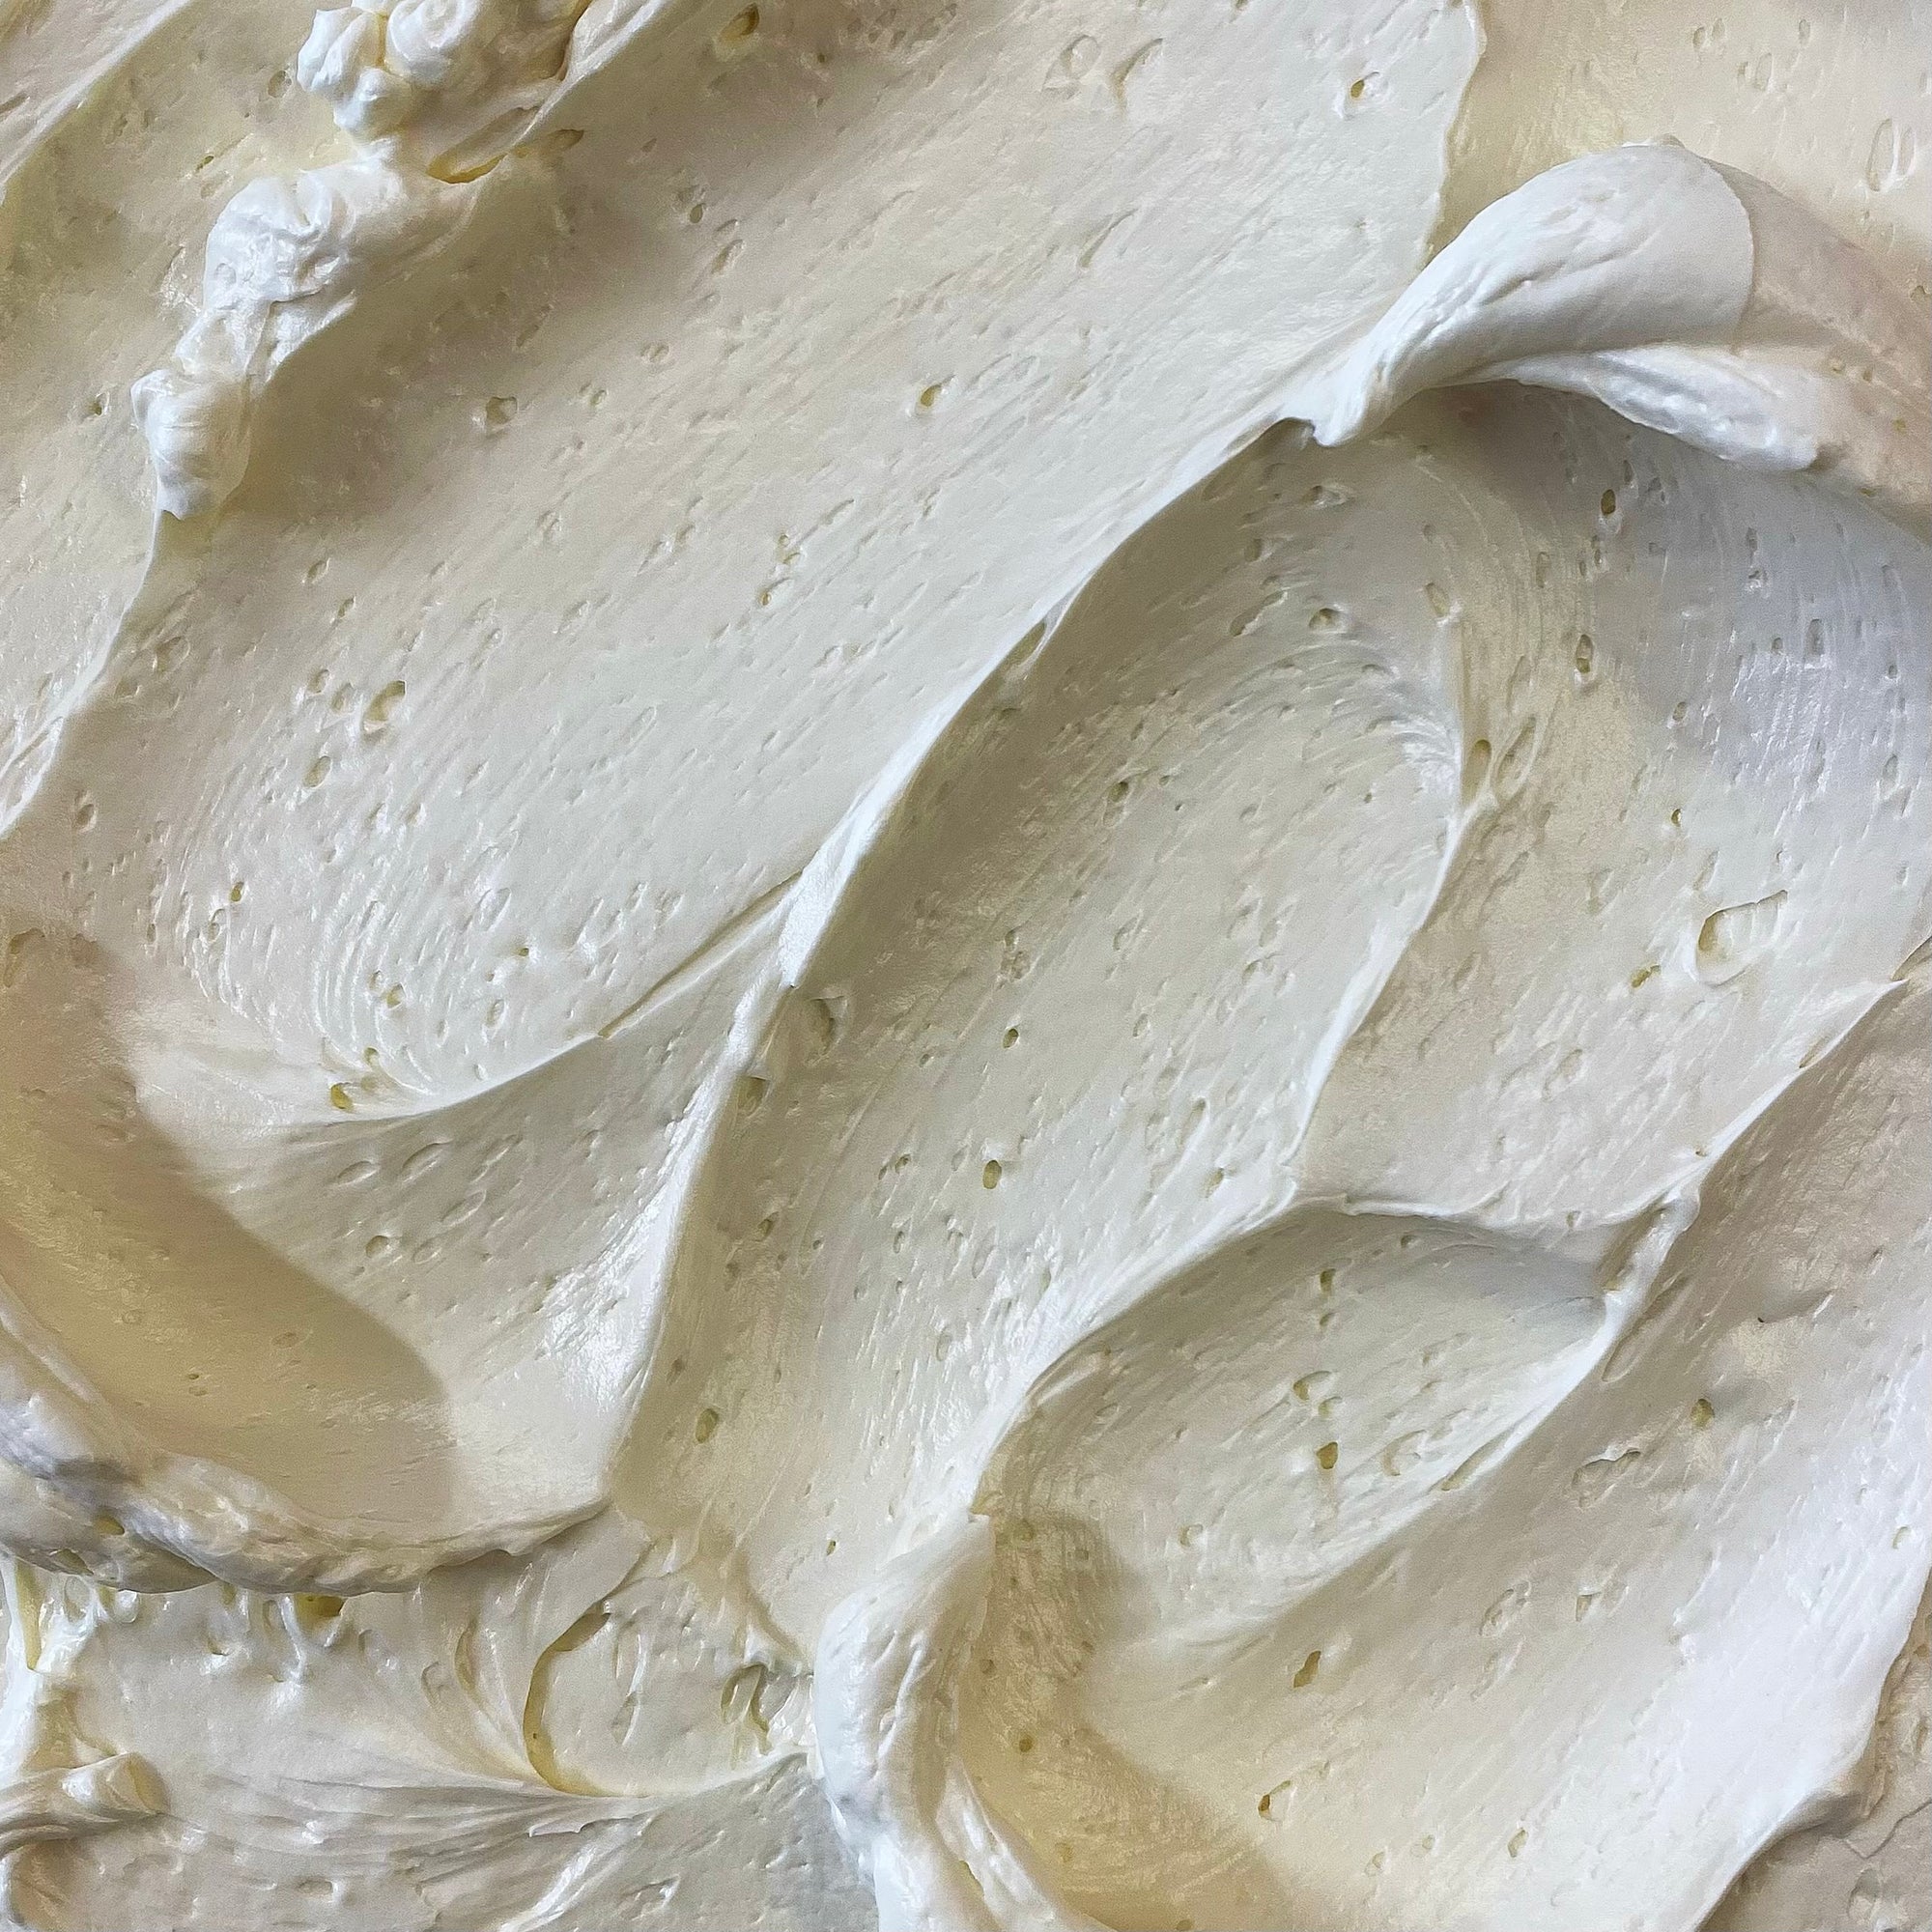
Buttercream
Again, you can use your favourite buttercream recipe here too, but I prefer our Swiss meringue buttercream recipe as it’s delicious, gets a much smoother and glossier finish, and doesn’t crust.
Gel Paste Colours
I’ve gone with Fuschia by Sugarflair to get various shades of pink in my buttercream. Pink and chocolate is a stunning combination, but you can use any colour that you like.
Sprinkles
I’ve made a mix of silver pearls, white hundreds and thousands, Unicorn mix by Dr Oetker, and bronze sprinkles. You can use any mix you like but I’d omit strands altogether or use them very sparingly.
Method
1) Once you have your cake sponges cooled, level them into 2cm high even layers using a cake leveller. Cover with cling film and place in the fridge to firm.
2) Whip up your buttercream. If making ombre, portion half out into 1 bowl, and the other half into two other bowls. Mix half a teaspoon of gel paste colouring into the large portion, quarter teaspoon into another, and a pinch into the third to make three different shades of buttercream.
3) Place a cake board on the turntable and smear a dollop of buttercream in the middle. Layer and sandwich 5-6 of the cake sponge layers with the brightest shade of buttercream.
 4) Crumbcoat the cake with a thin layer of buttercream and starting from the bottom spread a thick layer of the brightest buttercream on the base going up until a third of the height of the cake is covered. Then spread the mid-tone buttercream along the middle, and the lightest tone buttercream on the top third segment of the cake.
5) Smooth the sides with a cake scraper. Leave the top edge with a textured border.
 6) Using a small palette knife, scrape out lines of buttercream around the cake. Clean the palette knife every so often between scrapes and continue.

7) Now this is the messy part – Have your sprinkles handy in a bowl on the side, hold the cake at an angle from the base and fill the lines with sprinkles using a tablespoon for minimal mess (I used my fingers first and they literally went EVERYWHERE. They are even in my bed and SOFA! HOW!?). Once the lines are filled with sprinkles place the cake in the fridge to firm up for 20 minutes.

8) Once the cake is firm to the touch, put it back on the turntable and gently swipe off any excess rogue sprinkles outside of the fault lines. You can use the back of a warm spoon to smooth any scratches or blemishes on the buttercream.
9) Dissolve half a teaspoon of gold lustre in half a teaspoon of water (you can use clear alcohol spirit too but prefer not using alcohol as a lot of my followers don’t consume alcohol). Then using a paintbrush brush paint the gold lustre over the fault line ridges and the top border.

Watch that cake POP in front of your eyes!
10) To finish decorating, fill a piping bag fitted with your favourite medium nozzle (mine happens to be a fine star Savoy nozzle from my piping nozzle set), and pipe small stars sporadically in the fault lines, and swirls and whirls along the edge on the top of the cake. Fill with sprinkles and gaze at your beautiful creation adoringly.

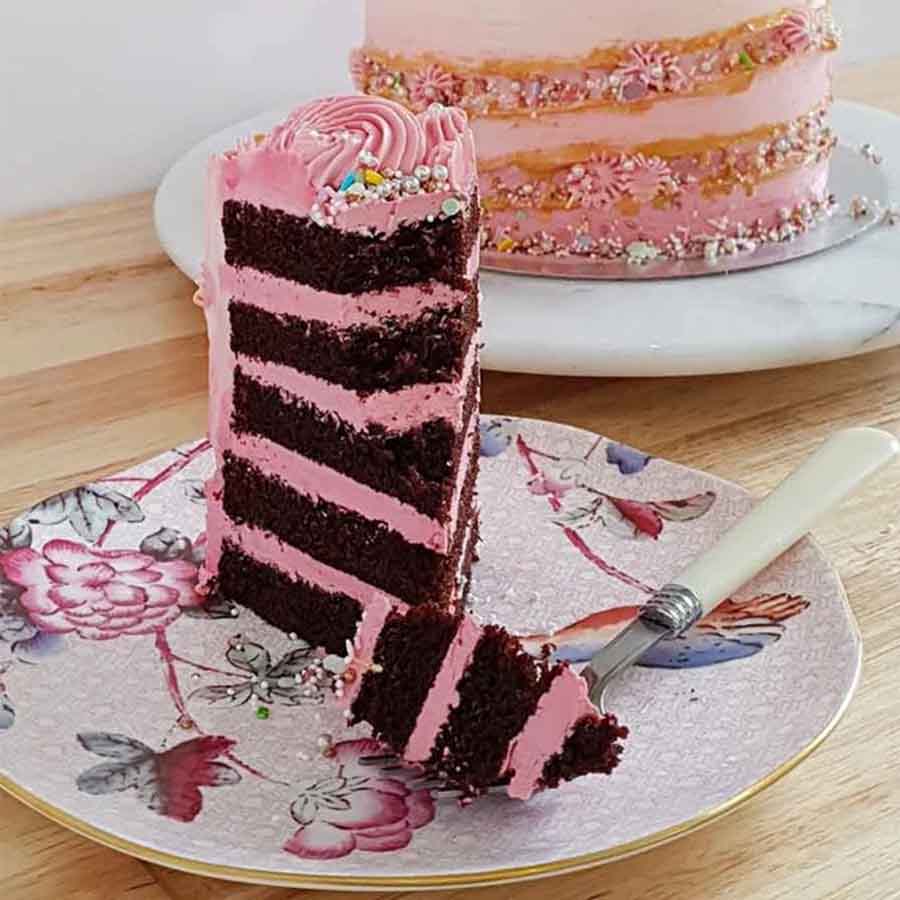
The cake is JUST as beautiful when cut into with contrasting layers of chocolate and pink.

Here’s a short video of the process (please don’t judge me on my video making skills – this is a budget home production!).
If you’ve had a crack at this, please share your photos with me by tagging @angesdesucre #angesdesucre on Instagram so I can also gaze at your creation in awe. And if you have any questions at all, hit me up in the comments below! And if you can't be bovved or are pressed for time, you can order one of our fault line cakes for delivery in London or collection from Selfridges.

Lots of fault line love,
Reshmi xoxo


Awfulknitter
May 27, 2019
Ha, vajazzled cakes! Maybe they’re covert feminist statements.