A skilled workman still needs tools, and it’s exactly the same with baking. Years of experience helps you create the most delicious, beautiful cakes, but even the best bakers need a handful of solid, good-quality equipment. The brilliant news for home bakers is that those quality basics are readily available, relatively inexpensive, and will last you for years. You really can have the same kit we use in the bakery to turn out professional-looking birthday cakes and towering wedding cakes at home.
Of course there’s some baking equipment that isn’t small or cheap (hello, stand mixer, you’re not as hot as you think you are), but when it comes to decorating, here’s our essential list of 12 cake decorating items that won’t bust the budget, won’t take up too much space, and will help your cakes look like they’ve come straight out of a professional bakery.
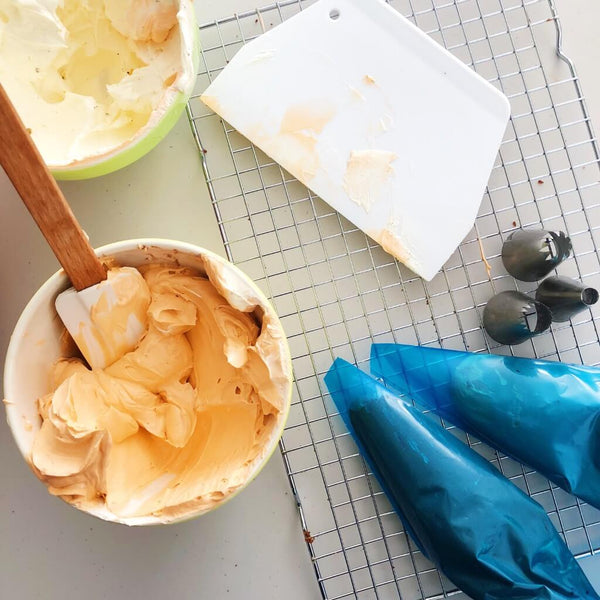
Top 12 Cake Decorating Tools
1. Turntable
To get that professionally smooth look on buttercream cakes with ease and speed, you NEED a cake decorating turntable. It’s literally a low pedestal that rotates manually, but it makes such a difference. Not only does it help you decorate faster because you’re not constantly shuffling the cake around, it gives a smoother, more even finish so your cakes look sleek, polished and bakery-level.
It might feel a little strange at first – your hands working in opposite directions like you’re patting your head and rubbing your tummy – but with a bit of practice you’ll be wondering how you ever iced without one.
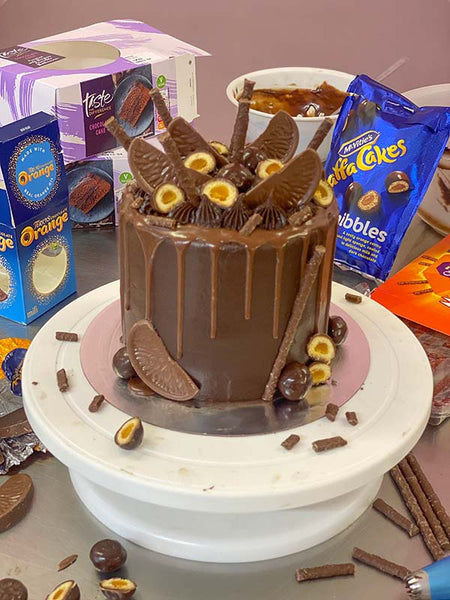
Place a cake board in the middle, pop your layer cake sponges on and spread buttercream using a spatula in one hand while the other hand rotates the turntable. It feels awkward for about three minutes and then you’ll suddenly be whizzing out smooth, even layers of buttercream. The turntable is also what you’ll use to get that perfectly even finish on the sides of your cake with a palette knife or cake scraper.
To get a smooth finish on the outer sides, start with a crumb coat. Think of it like primer before paint or make-up. Slather buttercream all over, then scrape off with a palette knife or cake scraper in one hand while turning the turntable against the scraper with the other. Repeat until the sides are smooth, the crumbs are sealed and you’ve got an even surface ready for additional layers of frosting.
An added bonus? The turntable can double up as a cake stand. Have a read of our post on making a DIY cake stand here: DIY cake stand ideas. A dressed-up turntable under a beautifully frosted cake looks very “I definitely know what I’m doing”.
2. Angled Palette Knife
Also called a cranked palette knife, this is what you’ll use to fill and smooth buttercream between cake sponges and to cover them neatly. The angle helps you apply even pressure for a flatter, more controlled surface when spreading buttercream or fillings.
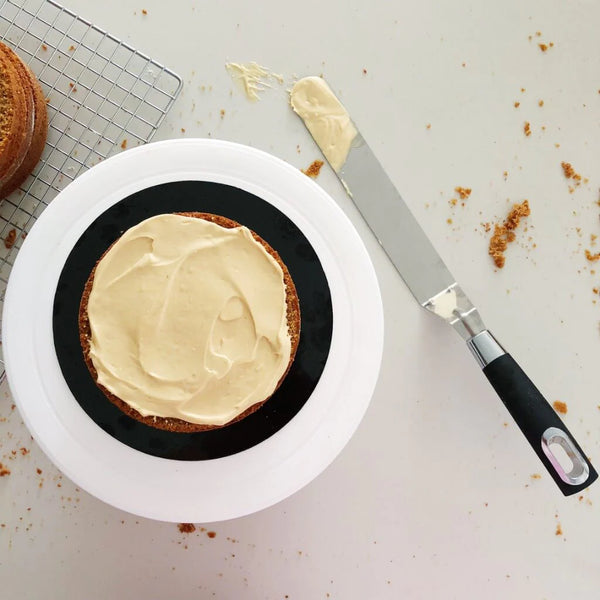
That little bend in the blade is the difference between a reasonably neat cake and a SUPER even, professional edge. I’m honestly not sure why straight palette knives exist – they’re basically there to annoy you. An angled palette knife keeps your knuckles out of the buttercream and gives you more control so your sponge layers sit flush and level.
Even layers are everything when building up tall layer cakes or stacking tiers. Wonky layers mean a wobbly cake, and nobody wants drama at the cake table. You can buy them in different sizes, but a medium angled palette knife will cover 99% of situations.
Used flat against the sides, it can work a bit like a cake scraper too. They’re not identical tools, but they complement each other – if you can stretch to both in your decorating kit, do.
3. Cake Scraper
After many years of decorating, I can smooth and level a cake pretty well with just a cranked spatula. But when I want that guaranteed razor-sharp finish, I reach for a cake scraper. I personally prefer a plastic scraper as it’s lighter on the wrist for long decorating days. Metal scrapers, however, have their moment in colder months as you can warm them in hot water to help tame stiff buttercream.
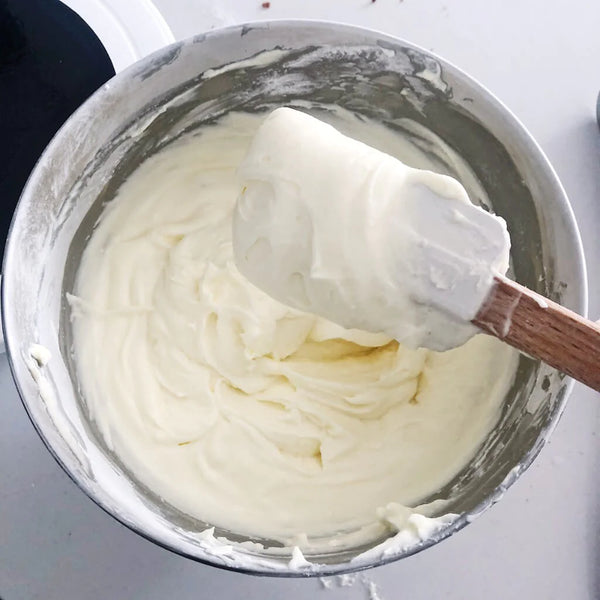
In terms of size, I like a medium scraper – around 5 or 6 inches. Very large scrapers can be harder to control and may encourage a slight lean if you’re not careful, so save the big boys for extra-tall cakes.
Scrapers are best friends with the turntable. Together they’ll give you smooth buttercream sides, clean stripes, or gentle textures. You can also get patterned scrapers that comb designs into buttercream if you’re going for that textured, rustic-but-chic look you see on a lot of modern wedding cakes.
4. Piping Nozzle Set
With just a handful of decent piping nozzles you can transform the simplest sponge into a cake that looks like it’s come from a boutique bakery. Buttercream piping elevates the most basic cake into something styled, intentional and, frankly, smugness-inducing.
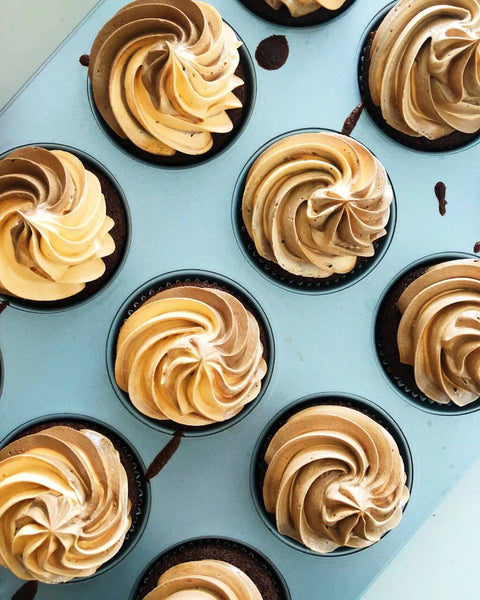
Nozzles are brilliant for swirling buttercream onto cupcakes, piping stars and rosettes on layer cakes, and decorating other patisserie bits like macarons, profiteroles and éclairs. Each member of our bakery team has their own set of 12 nozzles. It sounds excessive, but once you know what each one does, the combinations are endless.
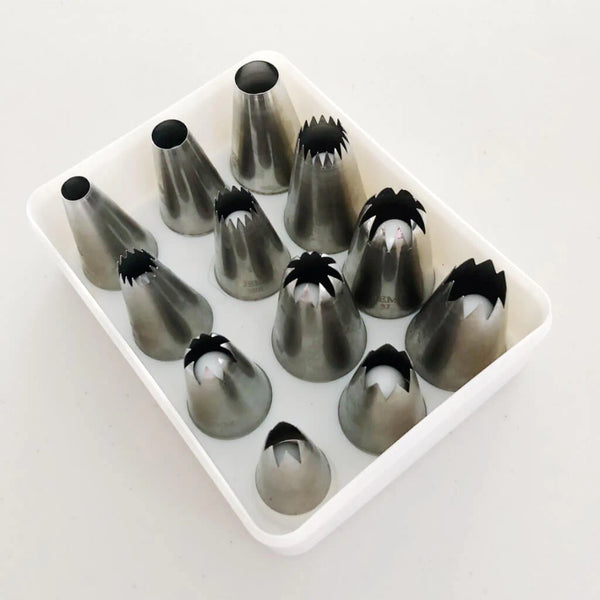
Good piping takes a bit of practice because each nozzle and buttercream consistency needs slightly different pressure, but a decent set will last years and see you through everything from simple birthday cakes to more intricate novelty cakes.
If a set of 12 feels a bit much to start with, here’s our little starter shortlist:
For cupcakes, tight swirls and rope borders – Jem Medium 2ES fine star nozzle.
For blossoms or fluffy open swirls – Jem Medium 2J curved star nozzle.
For buttercream roses, ruffles or swags – Jem Medium Petal Nozzle (No. 116).
For leaves and dimensional swags – Jem Medium No. 70.
Use them with disposable piping bags (we prefer biodegradable ones because you will get through quite a few). Before decorating your cake, practice on baking parchment to get a feel for the pressure, then move on to piping your masterpiece.
5. Piping Bags
Piping nozzles are useless without piping bags. One large bag is ideal for applying buttercream to the cake before smoothing over. A few extra bags let you alternate colours for stripe effects – like on a rainbow striped cake – or use different nozzles for more ornate details.
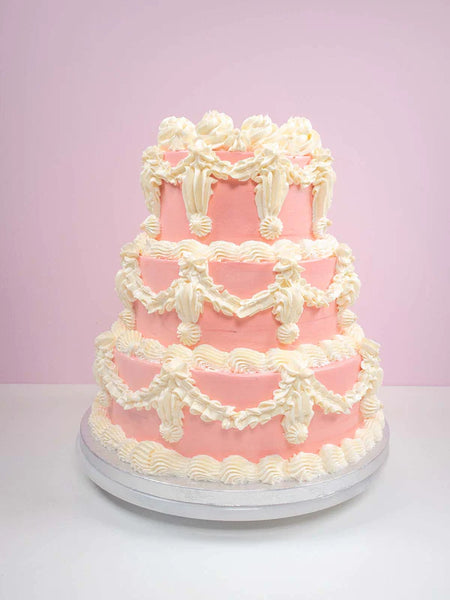
Our Regency Wedding cake is a great example of how mixing a few piping styles can create that classic, romantic Lambeth-style finish.
If you bake now and then, biodegradable disposable bags are probably your best bet. If you’re decorating more regularly, invest in catering-quality reusable piping bags – they’re sturdier, more economical long term and kinder to the environment. Just soak in warm soapy water, rinse and air dry between uses.
6. Rubber Spatula
If we’re honest, a rubber spatula isn’t just a decorating tool, it’s a non-negotiable for every kitchen. For mixing, folding, spooning, scraping the sides and bottoms of bowls – the rubber spatula does it all, and does it gently.
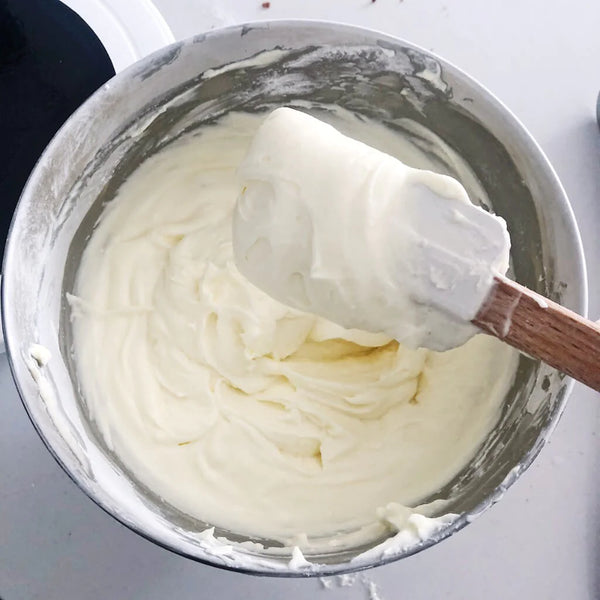
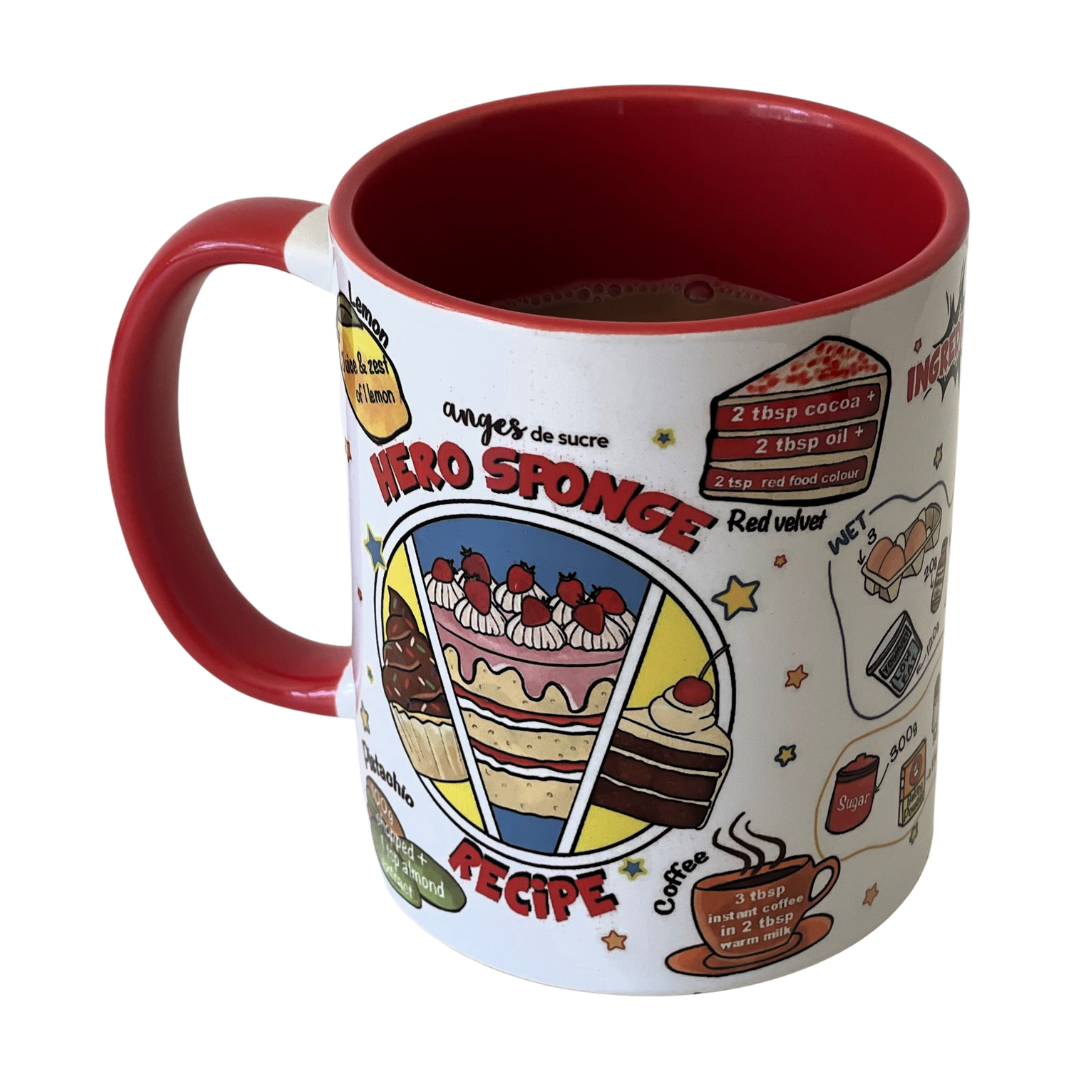
One of the best things about our Hero Sponge recipe and Swiss Meringue Buttercream is how versatile they are with different flavours and colours. When you’re folding batter or marbling in flavourings, a rubber spatula helps you mix evenly without knocking out too much air.
They’re also brilliant for scraping every last bit of mixture into cake tins and piping bags. Just make sure you get heat-resistant ones so they can handle hot mixtures and pan scraping without melting. Having at least two is ideal – one always ends up in the dishwasher when you need it.
7. Electric Hand Whisk
When you need more oomph than a balloon whisk, but don’t have the budget or counter space for a stand mixer, an electric hand whisk is perfect. It’s ideal for whipping cream, beating egg whites, making meringues, cake batters and buttercreams.
I’d recommend brands like Dualit or Kenwood – well-made, reliable and powerful enough for regular baking sessions. They tuck neatly into a cupboard, are easy to grab when needed and can comfortably power you through multiple bakes in a row.
8. Cake Leveller
No matter how good the recipe, most cake sponges will have a slight dome. To get straight tops and even layers, you’ll need either a very steady hand with a bread knife or, more sensibly, a cake leveller.
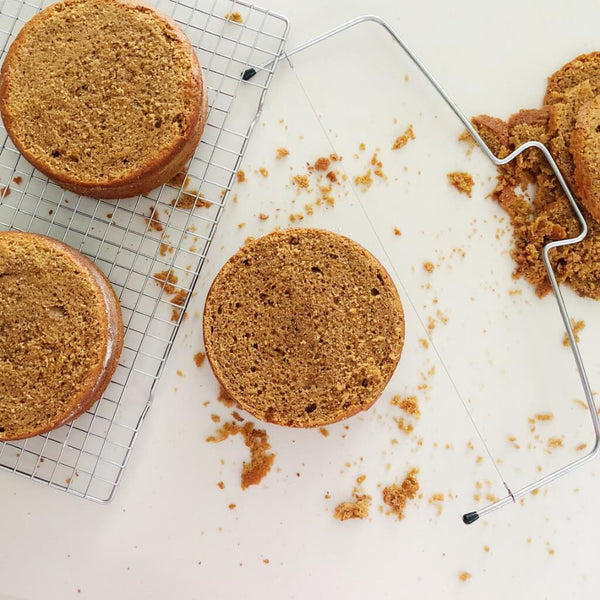
A cake leveller is essentially a tight wire cutter (think cheese wire) attached to a curved handle. You can adjust the wire height using the notches on the handle so you can choose exactly how much sponge to trim.
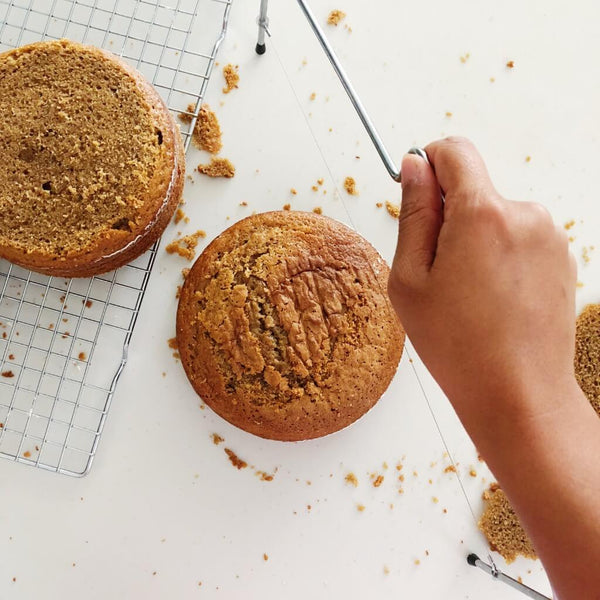
To use it, let your sponge cool completely and place it on a flat surface. Set the wire level on both sides, hold the handle so the wire is at 90 degrees to the table, and gently saw through the sponge with a steady backwards–forwards motion from one side to the other. Take it slowly, and watch your fingers (and anyone else’s) as you go.
9. Microwave-Safe Mixing Bowls
Pyrex glass or good-quality polypropylene mixing bowls are our favourites, but any microwave-safe bowl is useful. They’re great for mixing cake batter, but being able to pop them straight in the microwave is a game changer for melting chocolate, making ganache, or gently softening buttercream before re-whipping.
They’re generally handy around the kitchen too – for weighing, mixing, heating and serving. If you can, have a few different sizes so you’re not washing the same one endlessly mid-bake.
10. Digital Scales
Baking is science, and decorating is the art layered on top. For the science bit, you need to measure accurately. Lots of cake recipes use cup measures, but I am deeply suspicious of cups – they come in different shapes and sizes, and scaling recipes up or down is a headache.
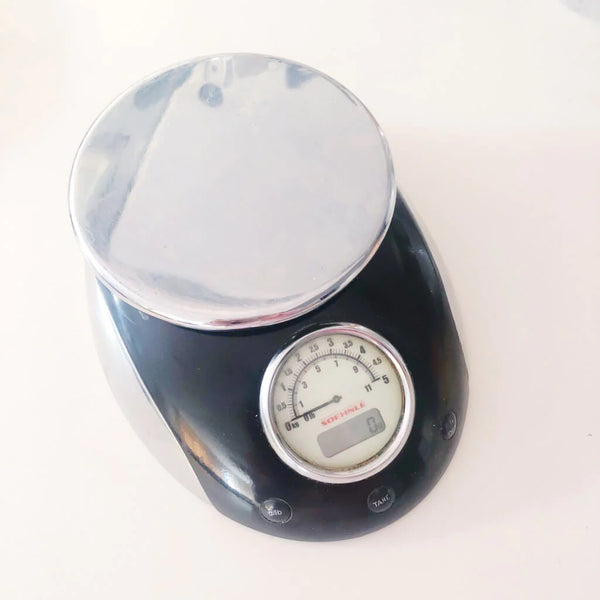
Digital scales take all the guesswork out of it. You can weigh directly into bowls, jugs and pans, and you’ll know your bakes – from simple sponges to celebration cakes – are starting with the right ratios.
11. Measuring Spoon Set
A teaspoon of this, a tablespoon of that… and about six different teaspoons in the drawer. Sound familiar? A simple set of measuring spoons saves you from vague scooping and “that looks about right” chaos.
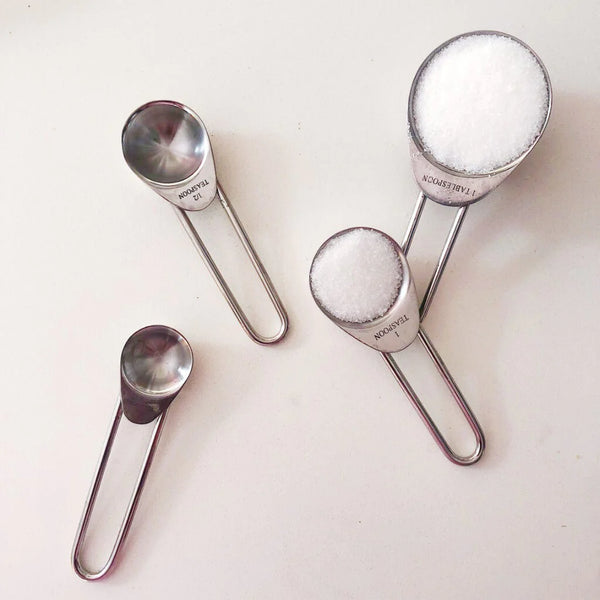
Most recipes are a mix of metric and spoons – a teaspoon of vanilla extract here, a tablespoon of cocoa powder there. With a proper measuring spoon set, you’ll consistently measure key ingredients like baking powder and bicarbonate of soda, which can make or break a cake.
12. Wire Cooling Rack
Freshly baked sponges need to cool quickly and evenly if you want to avoid soggy bottoms. That’s where a wire cooling rack comes in.
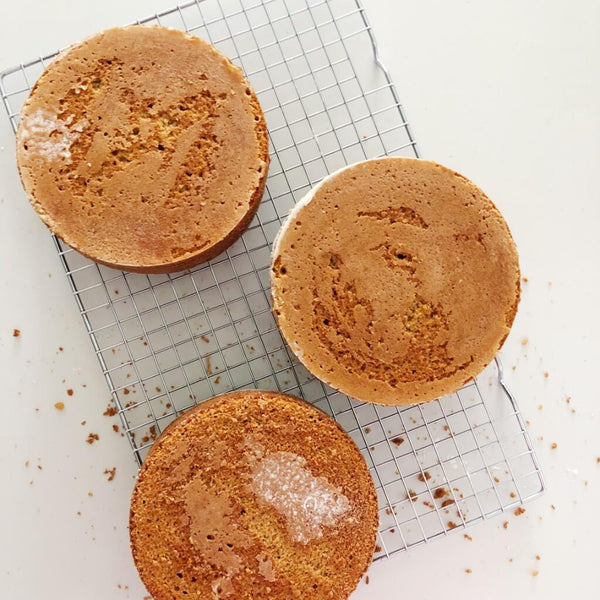
Wire racks are made from a grid of metal so the sponge’s weight is evenly supported and doesn’t sink into bars or develop deep grooves. They also allow air to circulate above and below, helping steam escape quickly instead of condensing into trapped moisture on the base.
Most standard racks will comfortably fit three 6-inch sponges. If you’re baking bigger or more layers, invest in a couple of extra racks – and no, you absolutely CANNOT stack warm sponges on top of each other. That way lies heartbreak and peeling sponge tops.
These really are our go-to tools in the bakery and at home, and once you get used to them, you’ll wonder how you ever managed without. It takes a bit of practice, but the more you play, the better you’ll get – and your cakes will start to look like they belong in our cake collection rather than hiding in the kitchen.
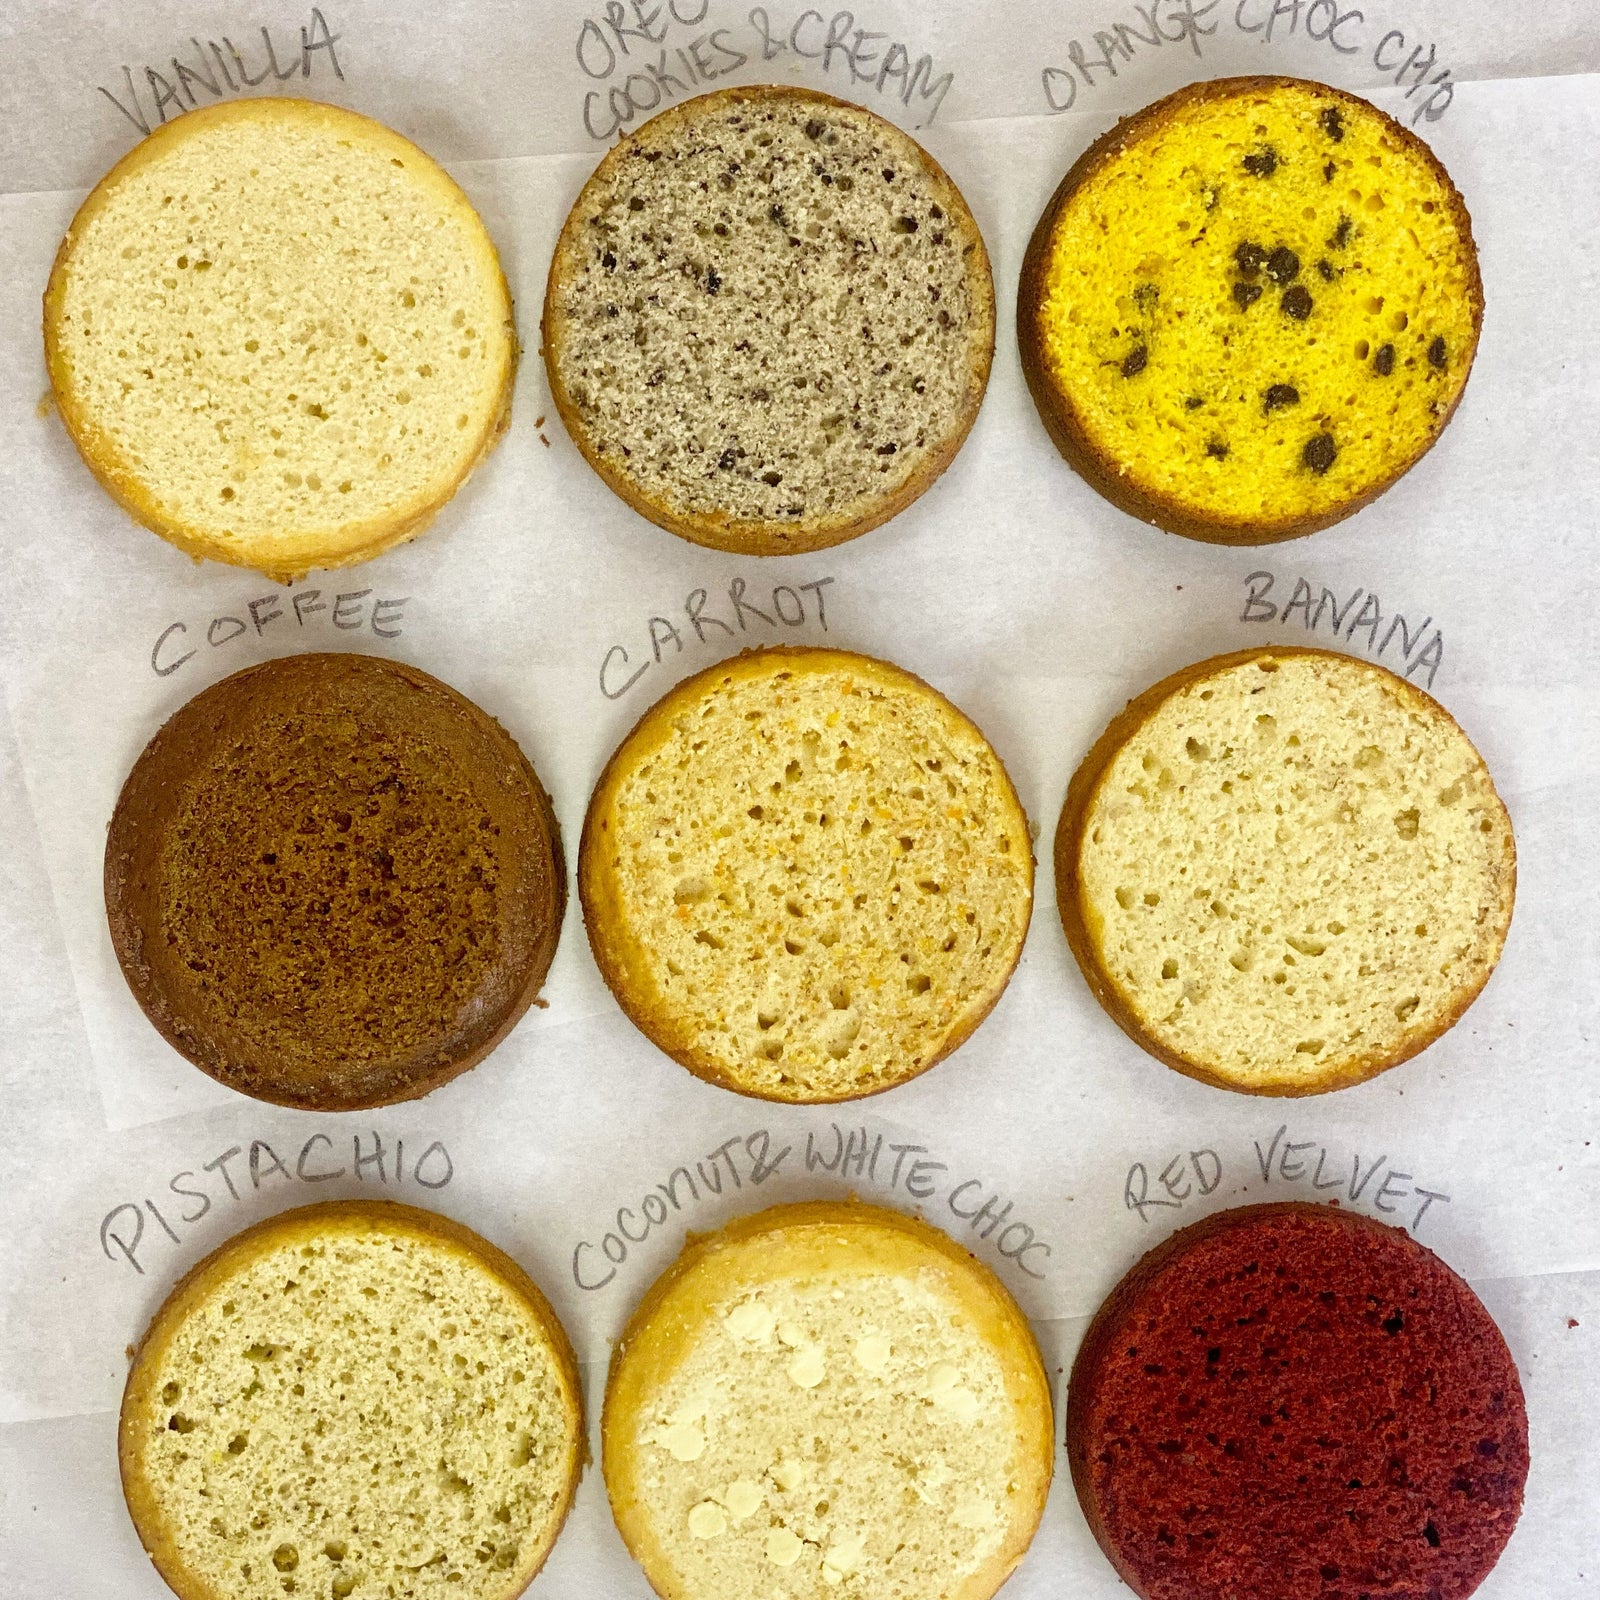
If you’d like to focus on practising your decorating skills without worrying whether the recipe works, our tried-and-tested Hero Sponge variations and Swiss Meringue Buttercream recipe are available to buy and download. There’s also a whole selection of recipes, tips and our much-loved fake bakes here on the blog to keep you inspired.
Love,
Reshmi xoxo
And if, after all that, you decide you’d rather eat cake than level it, our hand-decorated cakes for delivery are ready to arrive at your door, looking perfectly polished and party-ready so you don’t have to lift a spatula.


Leave a comment (all fields required)