

Tiered Birthday Cake · Hero Sponge · First-Time Baker Guide
Your First Tiered Birthday Cake, Without The Meltdown
Making a tiered birthday cake for your child feels like one of those Pinterest ideas that looks easy, until you are elbow-deep in buttercream, the toddler is doing laps around your ankles, and you start questioning every decision that led you to this moment.
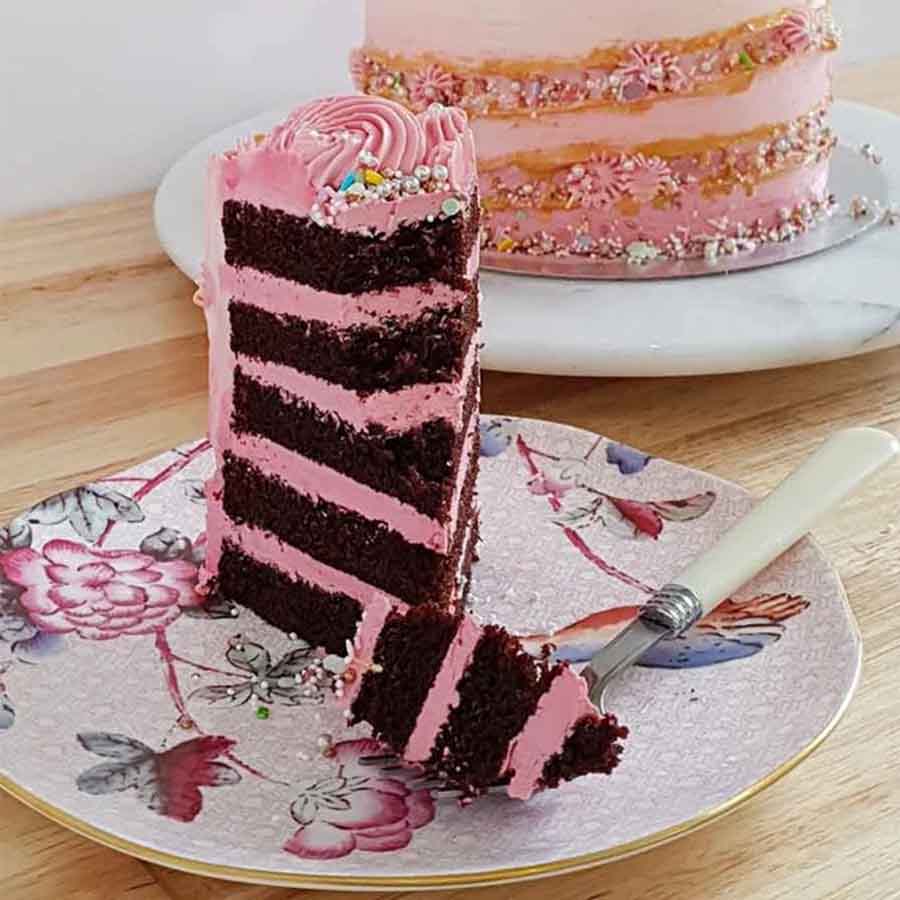
But fear not. A beautiful homemade tiered cake is absolutely possible, even if you are not a professional baker. My friend made the three-tiered wonder below for her child’s birthday using our Hero Sponge Recipe. It was her first ever tiered cake and her first ever drip cake.
Granted, she had me on WhatsApp telling her what to do and, more importantly, what not to do. But with a solid sponge recipe, a few sensible tools and a little patience, she made a total showstopper.
Your first tiered birthday cake does not need to be perfect. It needs to be stable, chilled, supported properly and made from a sponge that can handle being stacked. Get those bits right and you are already halfway to a cake that looks wildly more impressive than your stress levels suggest.


You know the score with young children. You are already sleep-deprived, possibly operating with a sieve for a brain, and staring down a never-ending list of life admin. Organising a birthday celebration, even with just a handful of guests, becomes another thing to do.
And central to the celebration is the cake. You want something special for the memories. Your baby may not know or care right now, but one day they will look through the photos, and there it will be: the cake you made with love, mild panic and possibly a suspicious amount of late-night tea.
You could buy a birthday cake from a bakery. That is a perfectly respectable decision. But sometimes you want to make it yourself. Not because it is easier. It is absolutely not easier. But because the effort matters.
If you want a bakery-style cake on a budget using ready-made bits, our Fake Bakes are perfect. But if you want the cake to taste as good as it looks, baking from scratch is the way to go.
The Sponge Recipe
You can use any sponge recipe for a tiered cake, but let’s be real: some recipes are divas. They demand room-temperature butter, precise creaming, careful folding and the patience of a saint.
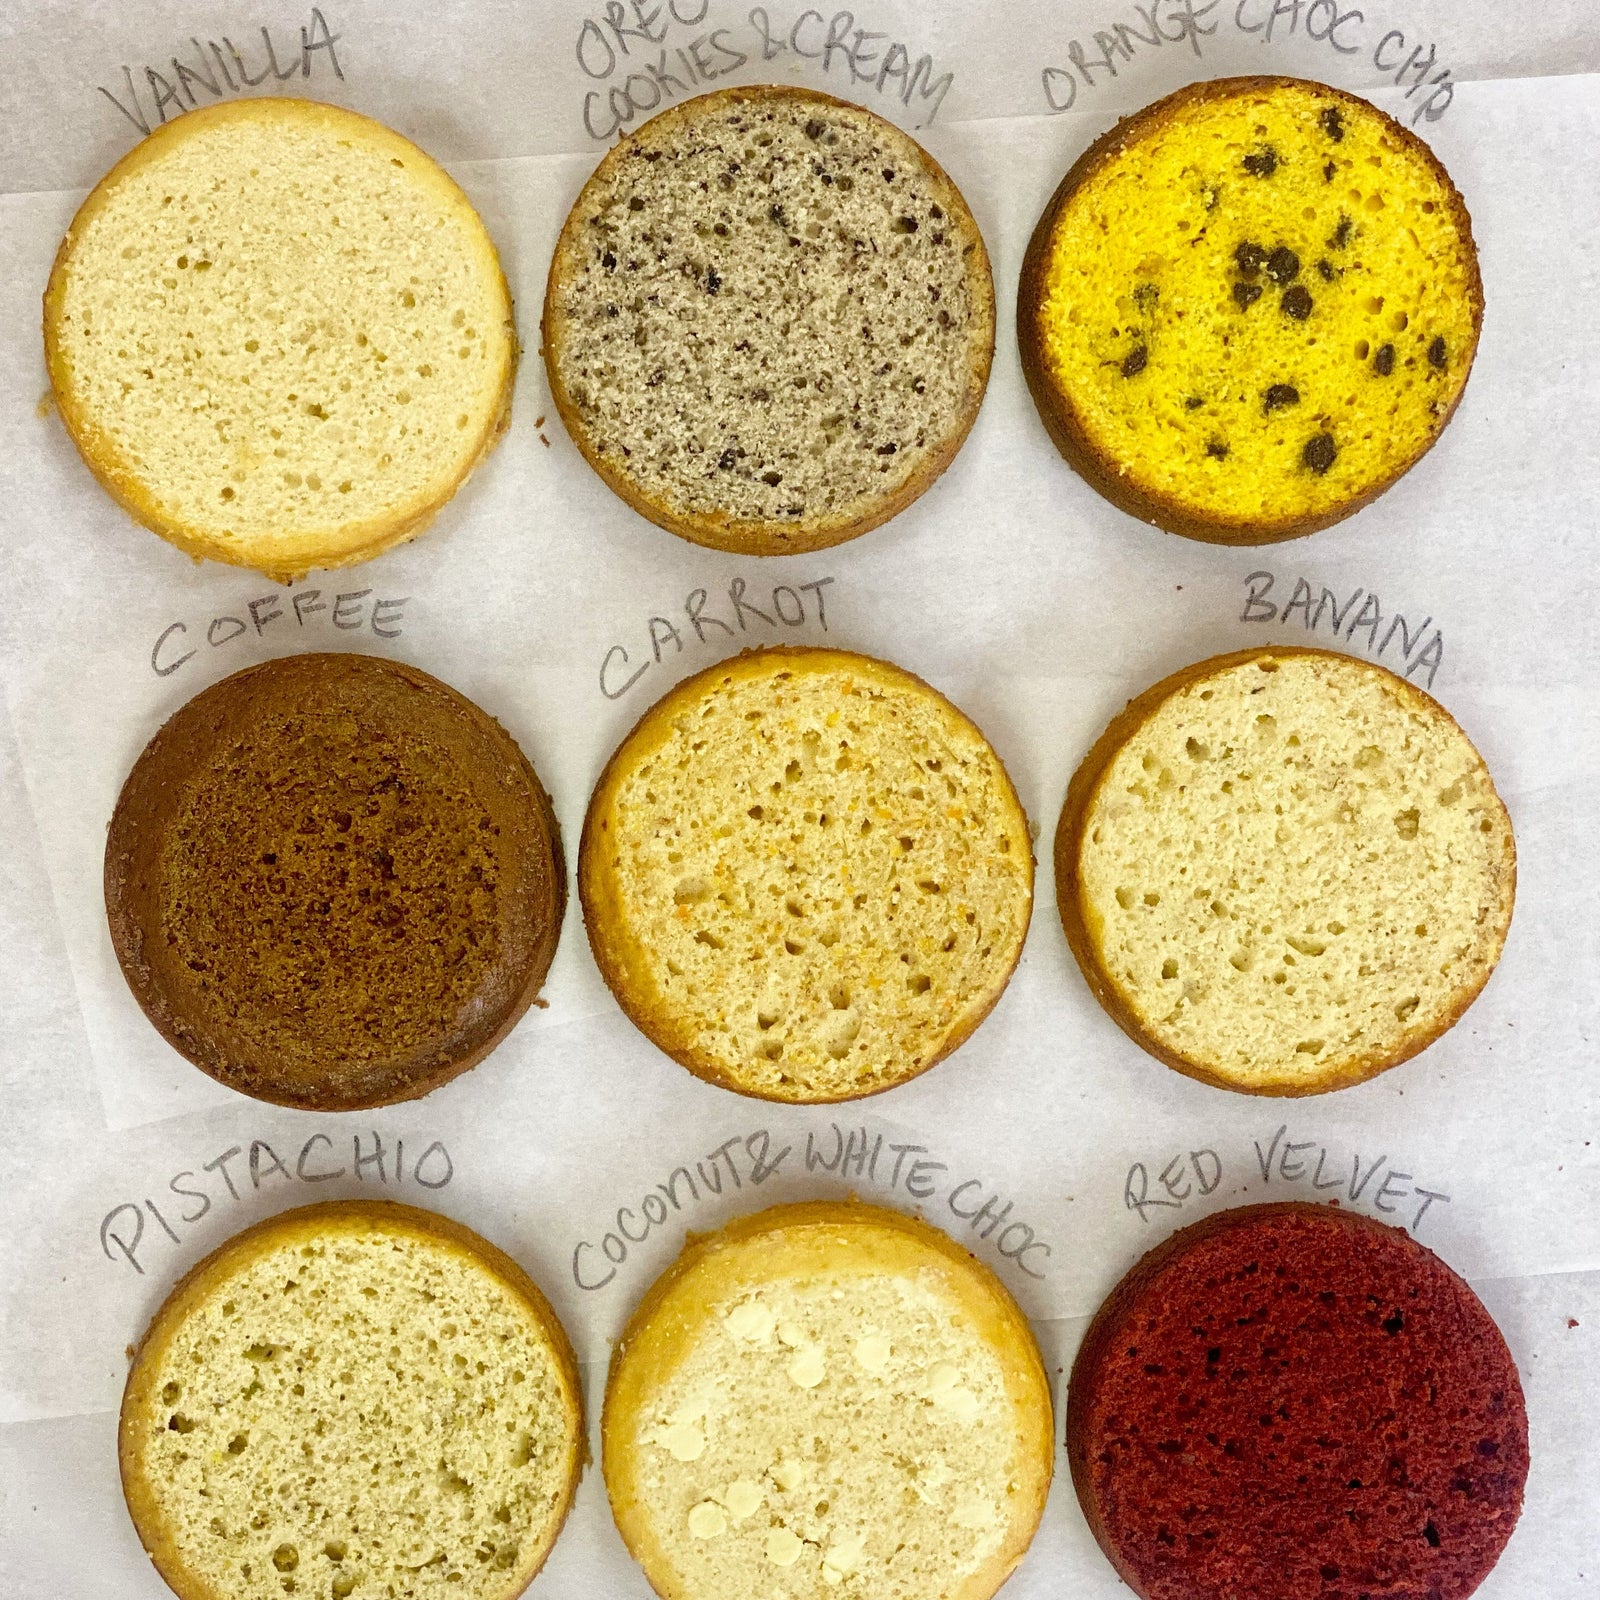
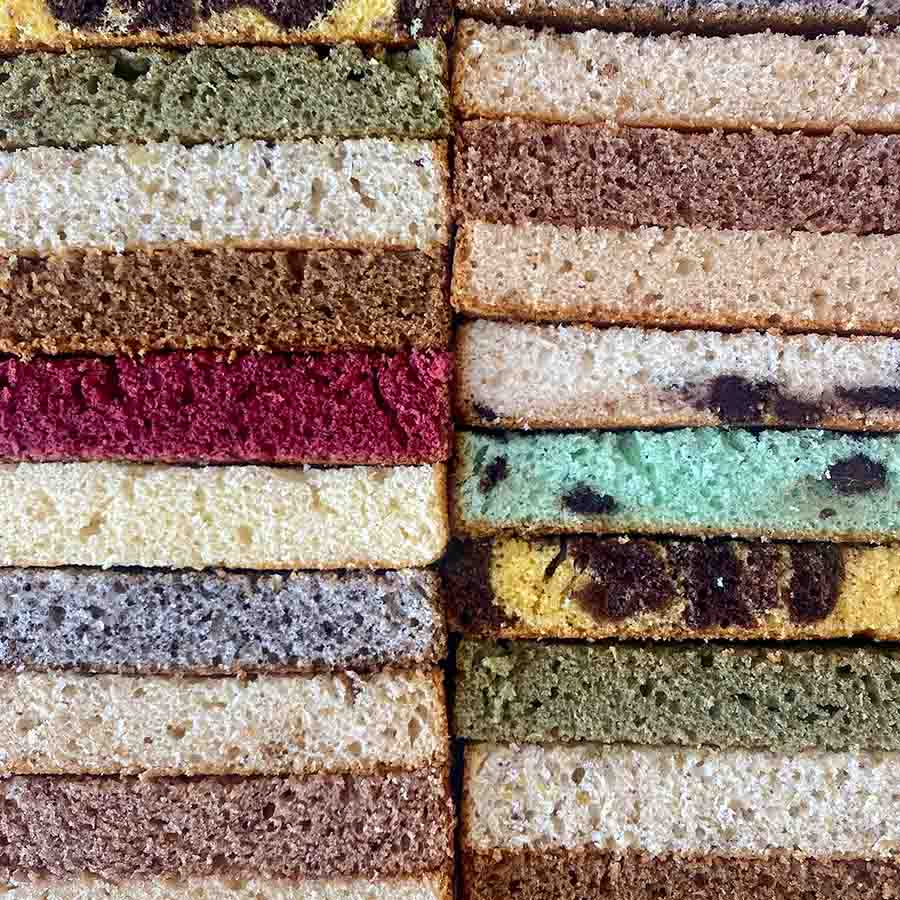
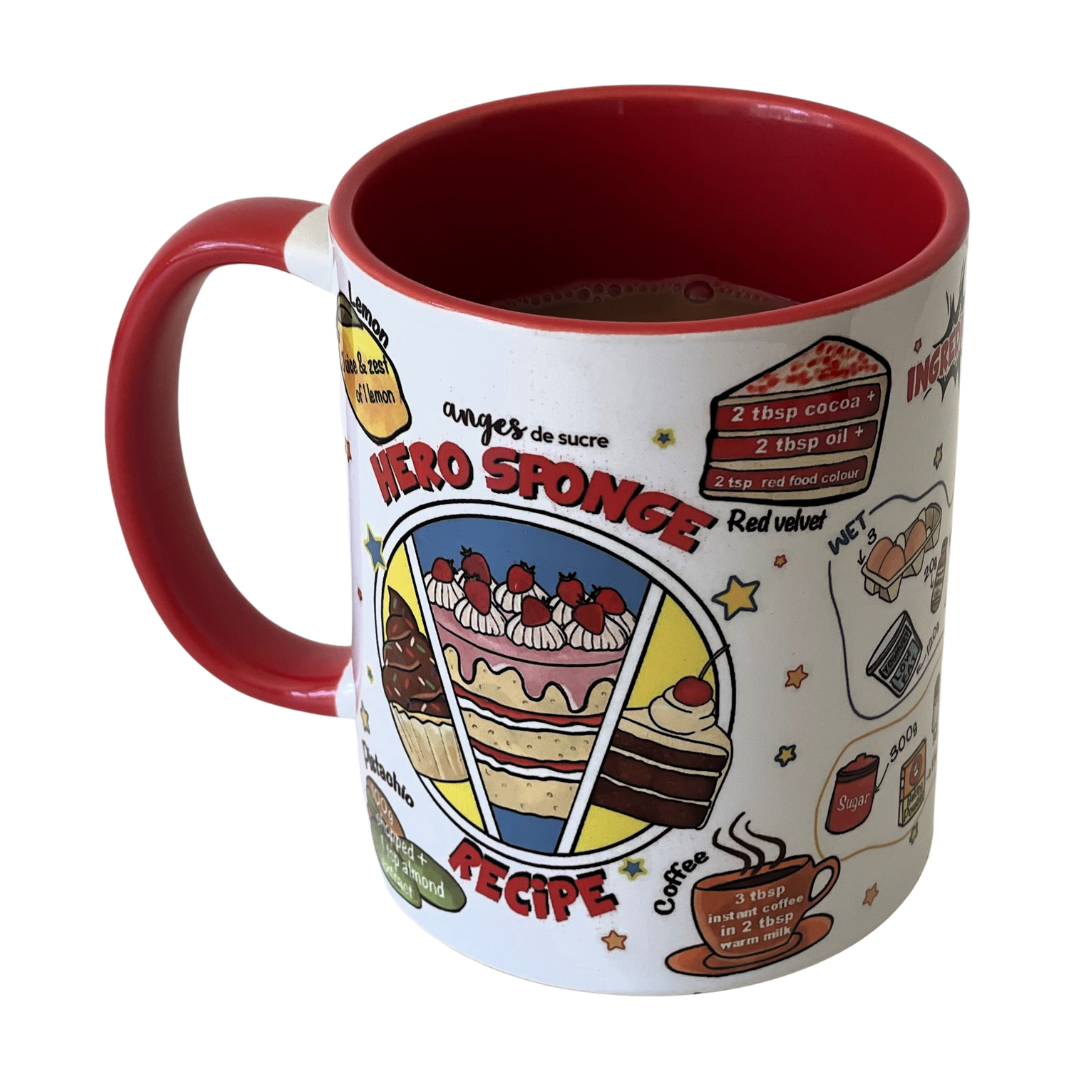
Our Hero Sponge Recipe is the no-nonsense workhorse of cakes. No butter-softening faff. No endless creaming. No stand mixer required. Just a reliable, moist sponge that works beautifully for layer cakes.
The recipe is versatile, cost-effective and quick to make. It uses oil instead of butter and granulated sugar instead of caster sugar, which keeps the sponge soft and the method simple. It takes less than 10 minutes to prepare and is made in one bowl, which matters when your kitchen already looks like a crime scene.
For your first tiered cake, I suggest making a two-tier cake with two 6 inch sponge layers and two 8 inch sponge layers. Divide the batter evenly and fill each tin to around 2 to 3 fingers’ depth.
Bake the sponges ahead, cool them completely, then wrap tightly in cling film. Chilled or frozen sponge is easier to level, fill, frost and stack than fresh, fragile sponge.

Once baked, let the sponges cool completely before wrapping them tightly in cling film. You can chill them in the fridge or freeze them until you need them. This can be done a few days before decorating, which is ideal if you would like to avoid decorating a tiered cake while simultaneously hosting a birthday party and searching for missing candles.
The Buttercream
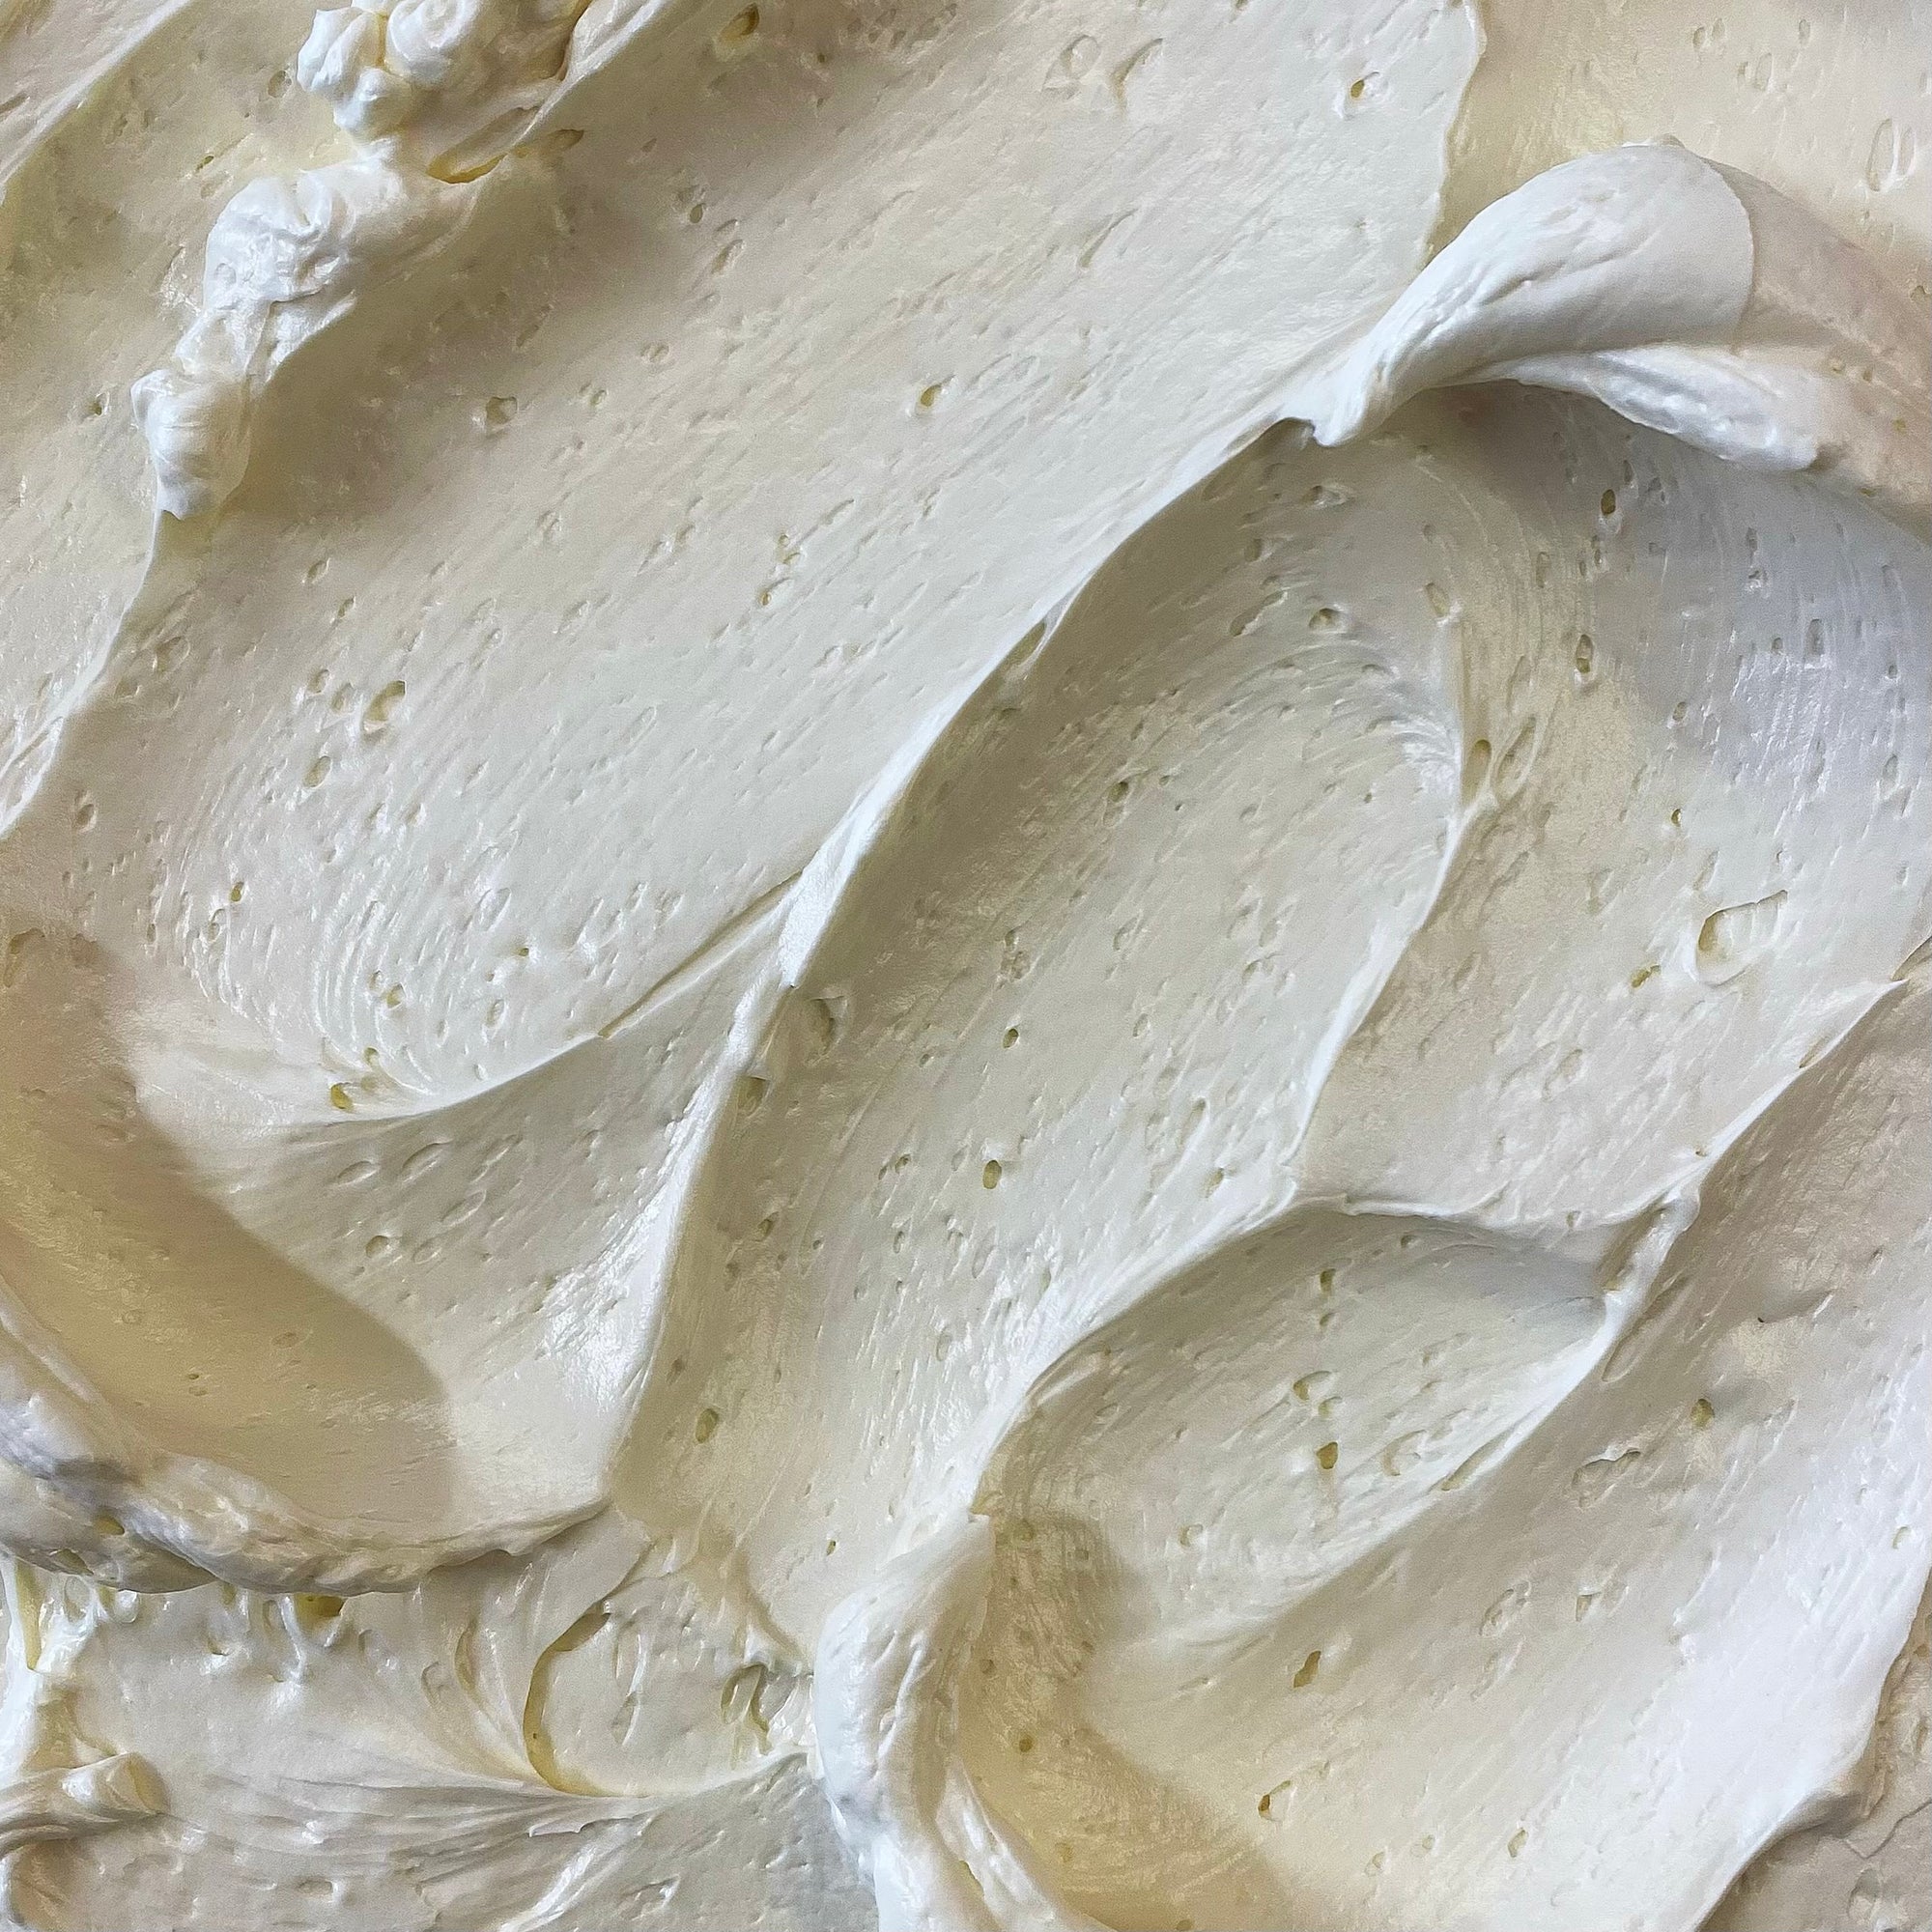
You can use any buttercream you like, but our Swiss Meringue Buttercream recipe is particularly lovely for tiered cakes. It is smoother, silkier and easier to handle than standard American buttercream, and it can be flavoured with fruit juice, purées, chocolate, Nutella, Oreos or whatever delicious idea has currently taken over your brain.
It is a little more involved to make, but the finish is worth it. For a tiered cake, you want buttercream that spreads neatly, firms up when chilled and holds its shape when stacked.

The Equipment You Actually Need
Equipment is not just nice to have. It is the difference between a cake that looks polished and a cake that looks like it has survived a small structural incident.
The good news is that you do not need a professional bakery kit. You need a handful of practical tools, most of which are inexpensive and reusable.
- Cake boards: You need a 10 inch thick cake drum for the base, plus an 8 inch and 6 inch cake board. The extra board makes it much easier to decorate and move the top tier safely.
- Cake decorating turntable: Non-negotiable for smooth buttercream. The cheap plastic ones are perfectly fine and often last for years.
- Cake leveller: Sponge layers almost always dome slightly. A cake leveller gives you even layers without the stress of using a bread knife and blind optimism.
- Angled palette knife: Also called a cranked spatula. It helps you spread buttercream evenly between layers and across the cake.
- Cake scraper: The easiest way to get smooth sides. A cheap plastic scraper is light, simple and very effective.
- Dowels or sturdy straws: The bottom tier needs support before the top tier goes on. Food-safe cake dowels are best. Sturdy paper or bubble tea straws can work for a small home cake if cut cleanly and used properly.

Tiered Cake Technique
This is the part that sounds scary but is actually very logical. You are simply making two separate cakes, chilling them, supporting the bottom one and placing the smaller one on top.
A tiered cake should never rely on sponge strength alone. The bottom tier needs dowels so the weight of the top tier is carried by the supports, not by the cake beneath it.
Decorating The Cake
This is where you can spend as little or as much as you like. A simple drip cake can look fantastic if the finish is clean and the colours are chosen well.
You can use chocolate ganache for a drip, pipe buttercream swirls with your favourite nozzles, add chocolates, fresh fruit, sprinkles or edible fondant toppers. My friend used cake bunting and fondant toppers from Etsy, which gave the cake that joyful party-table look without requiring a degree in sugar modelling.

If your buttercream finish is not perfect, decorate strategically. Piping, sprinkles, chocolate shards, fruit, fondant toppers and bunting can cover small wobbles beautifully. This is not cheating. This is design.
Final Advice Before You Start
Do not make everything on the day of the party. That way lies panic, mess and a strong temptation to cancel all future birthdays.
Bake the sponges in advance. Make the buttercream in advance if you can. Level and fill the cakes when the sponges are cold. Chill each tier before stacking. Keep the design achievable. And remember that children are far more impressed by height, colour, candles and excitement than by microscopic buttercream smoothness.
Your first tiered cake does not need to be immaculate. It needs to be joyful, stable and delicious. That is more than enough.
Use our Hero Sponge Recipe and Swiss Meringue Buttercream to take the guesswork out of the two most important parts of the cake.
So there you have it: your fool-proof guide to a Pinterest-worthy tiered birthday cake. Go forth and bake with confidence. And if it still ends up looking like a collapsed Jenga tower, do not panic. We sell cakes too. Tag me on Instagram at @angesdesucre, because I live for cake success stories.


Leave a comment (all fields required)