





Recipe · White Chocolate Ganache
White Chocolate Ganache Drip Recipe
You lot nailed my chocolate drip recipe, and I could not be prouder. Now let us talk white chocolate ganache, because no, you cannot simply swap dark chocolate for white chocolate and hope for the best. Trust me, I tried, so you do not have to waste a perfectly good bowl of chocolate sadness.
The beauty of my dark chocolate ganache drip recipe is that it is drop-dead simple. Two ingredients, minimal equipment, and a tablespoon. Voilà. Naturally, people asked whether they could substitute dark chocolate with white chocolate for a white drip. The answer is a very firm no.
White chocolate has a mind of its own. It is fattier, slower and trickier to work with, but once you understand how it behaves, the method is still beautifully simple.
White chocolate ganache drip needs white chocolate and double cream, not butter. White chocolate already has a higher fat content than dark chocolate, so adding extra butter can make the ganache split. Use a 2:1 ratio of white chocolate to cream and apply it at around 30°C to 35°C.
Why White Chocolate Behaves Differently
White chocolate has a much higher fat content ratio than dark chocolate, so it behaves very differently. The glaze is more viscous, it moves more slowly, and it takes longer to drip down the side of a cake.
Add extra fat, such as butter, and your ganache may not merely split. It may stage a full-blown meltdown. No rescue, no redemption, straight to the bin.
But fret not. White chocolate drip is still easy. It is still two ingredients, minimal equipment and, yes, a tablespoon. The trick is using the right ratio and not treating white chocolate like dark chocolate in a pale outfit.
- No Butter White chocolate already carries plenty of fat.
- Use Cream Double cream helps create a smoother, more stable drip.
- Watch Temperature Use the ganache warm, not hot, usually around 30°C to 35°C.
Here is the free printable download, and below that is the step-by-step recipe with photos.
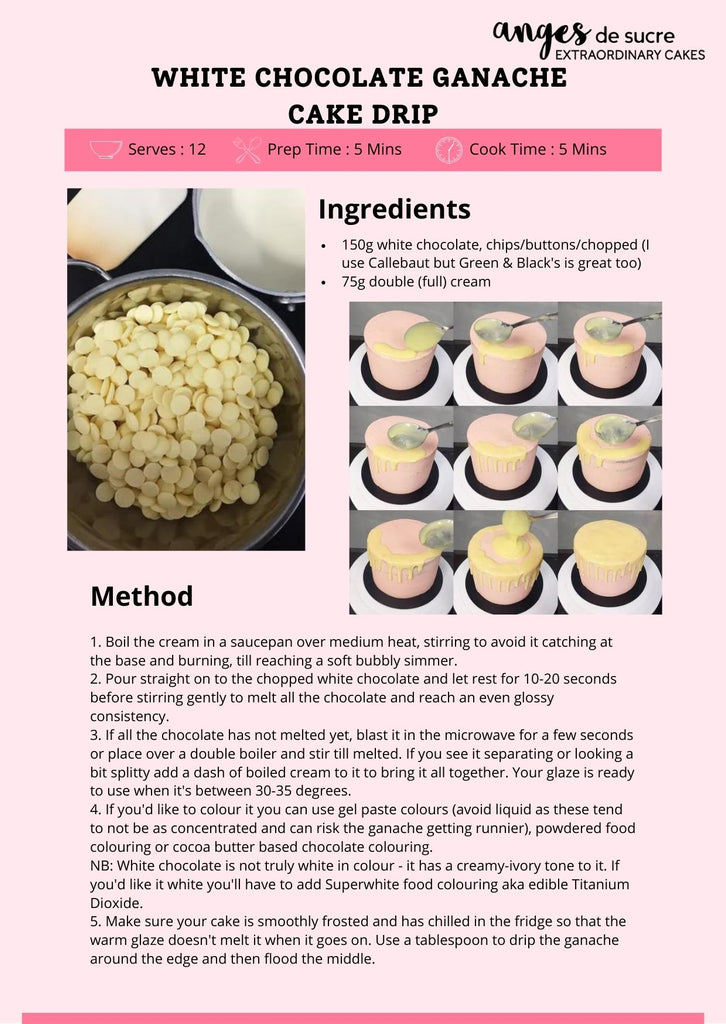
White Chocolate Drip Ganache Recipe
- White Chocolate 150g white chocolate, chips, buttons or chopped
- Double Cream 75g double cream
I use Callebaut white chocolate in the bakery, but Green & Black’s works well too. The important thing is using a good-quality white chocolate that melts smoothly and tastes like actual chocolate, not sweet candle wax.

Method
- 1 Put the white chocolate into a clean, heatproof bowl.
- 2 Heat the cream in a saucepan over a medium heat, stirring so it does not catch on the base.
- 3 Bring the cream to a soft, bubbly simmer.
- 4 Pour the hot cream straight over the white chocolate.
- 5 Leave it to sit for 10 to 20 seconds, then stir gently until smooth and glossy.

If all the chocolate has not melted, give it a few seconds in the microwave or place it briefly over a double boiler, stirring gently until the ganache becomes smooth. Do not attack it with wild enthusiasm. White chocolate is dramatic enough already.

Troubleshooting White Ganache
White Ganache Splitting And Making You Sad?
If your ganache begins separating or looking a bit splitty, add a small dash of boiled cream and stir gently to bring it back together. The glaze is ready to use when it is around 30°C to 35°C.
- Looks Split Add a small dash of hot cream and stir gently.
- Too Thick Add a little more warm cream, bit by bit.
- Too Hot Wait. Hot ganache melts buttercream and causes chaos.
Colouring White Ganache
If you would like to colour your white chocolate ganache, use gel paste colours, powdered food colouring or cocoa-butter-based chocolate colouring. Avoid liquid colours if possible, as they are usually less concentrated and can make the ganache too runny.
Want It Super White?
White chocolate is not truly white. It has a natural creamy ivory tone. If you want a pure white finish, you will need a product specifically sold as edible Superwhite powder. Use only colouring products labelled for edible use, and follow the manufacturer’s guidance.
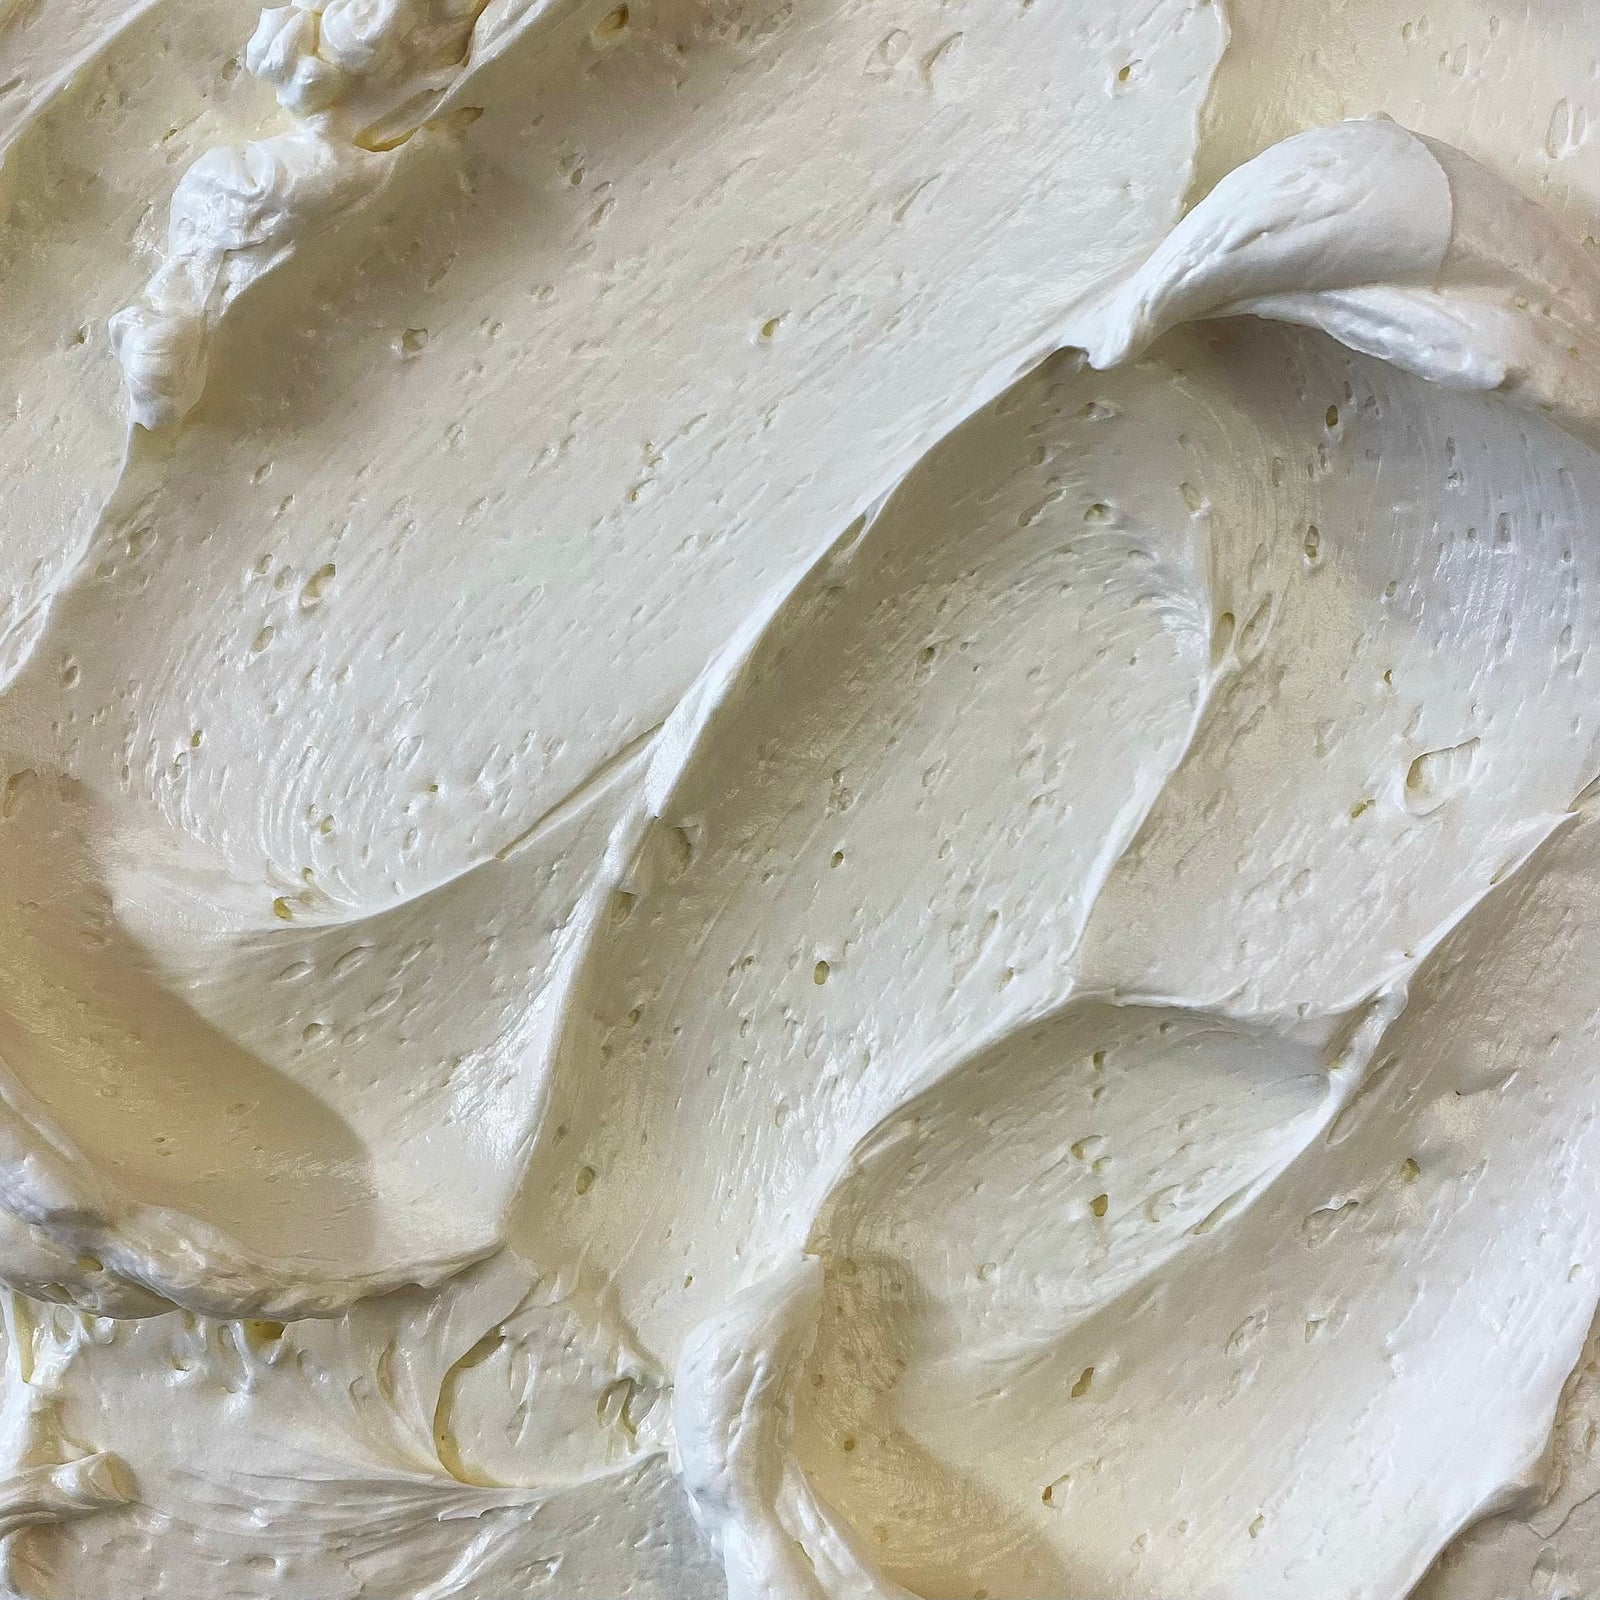
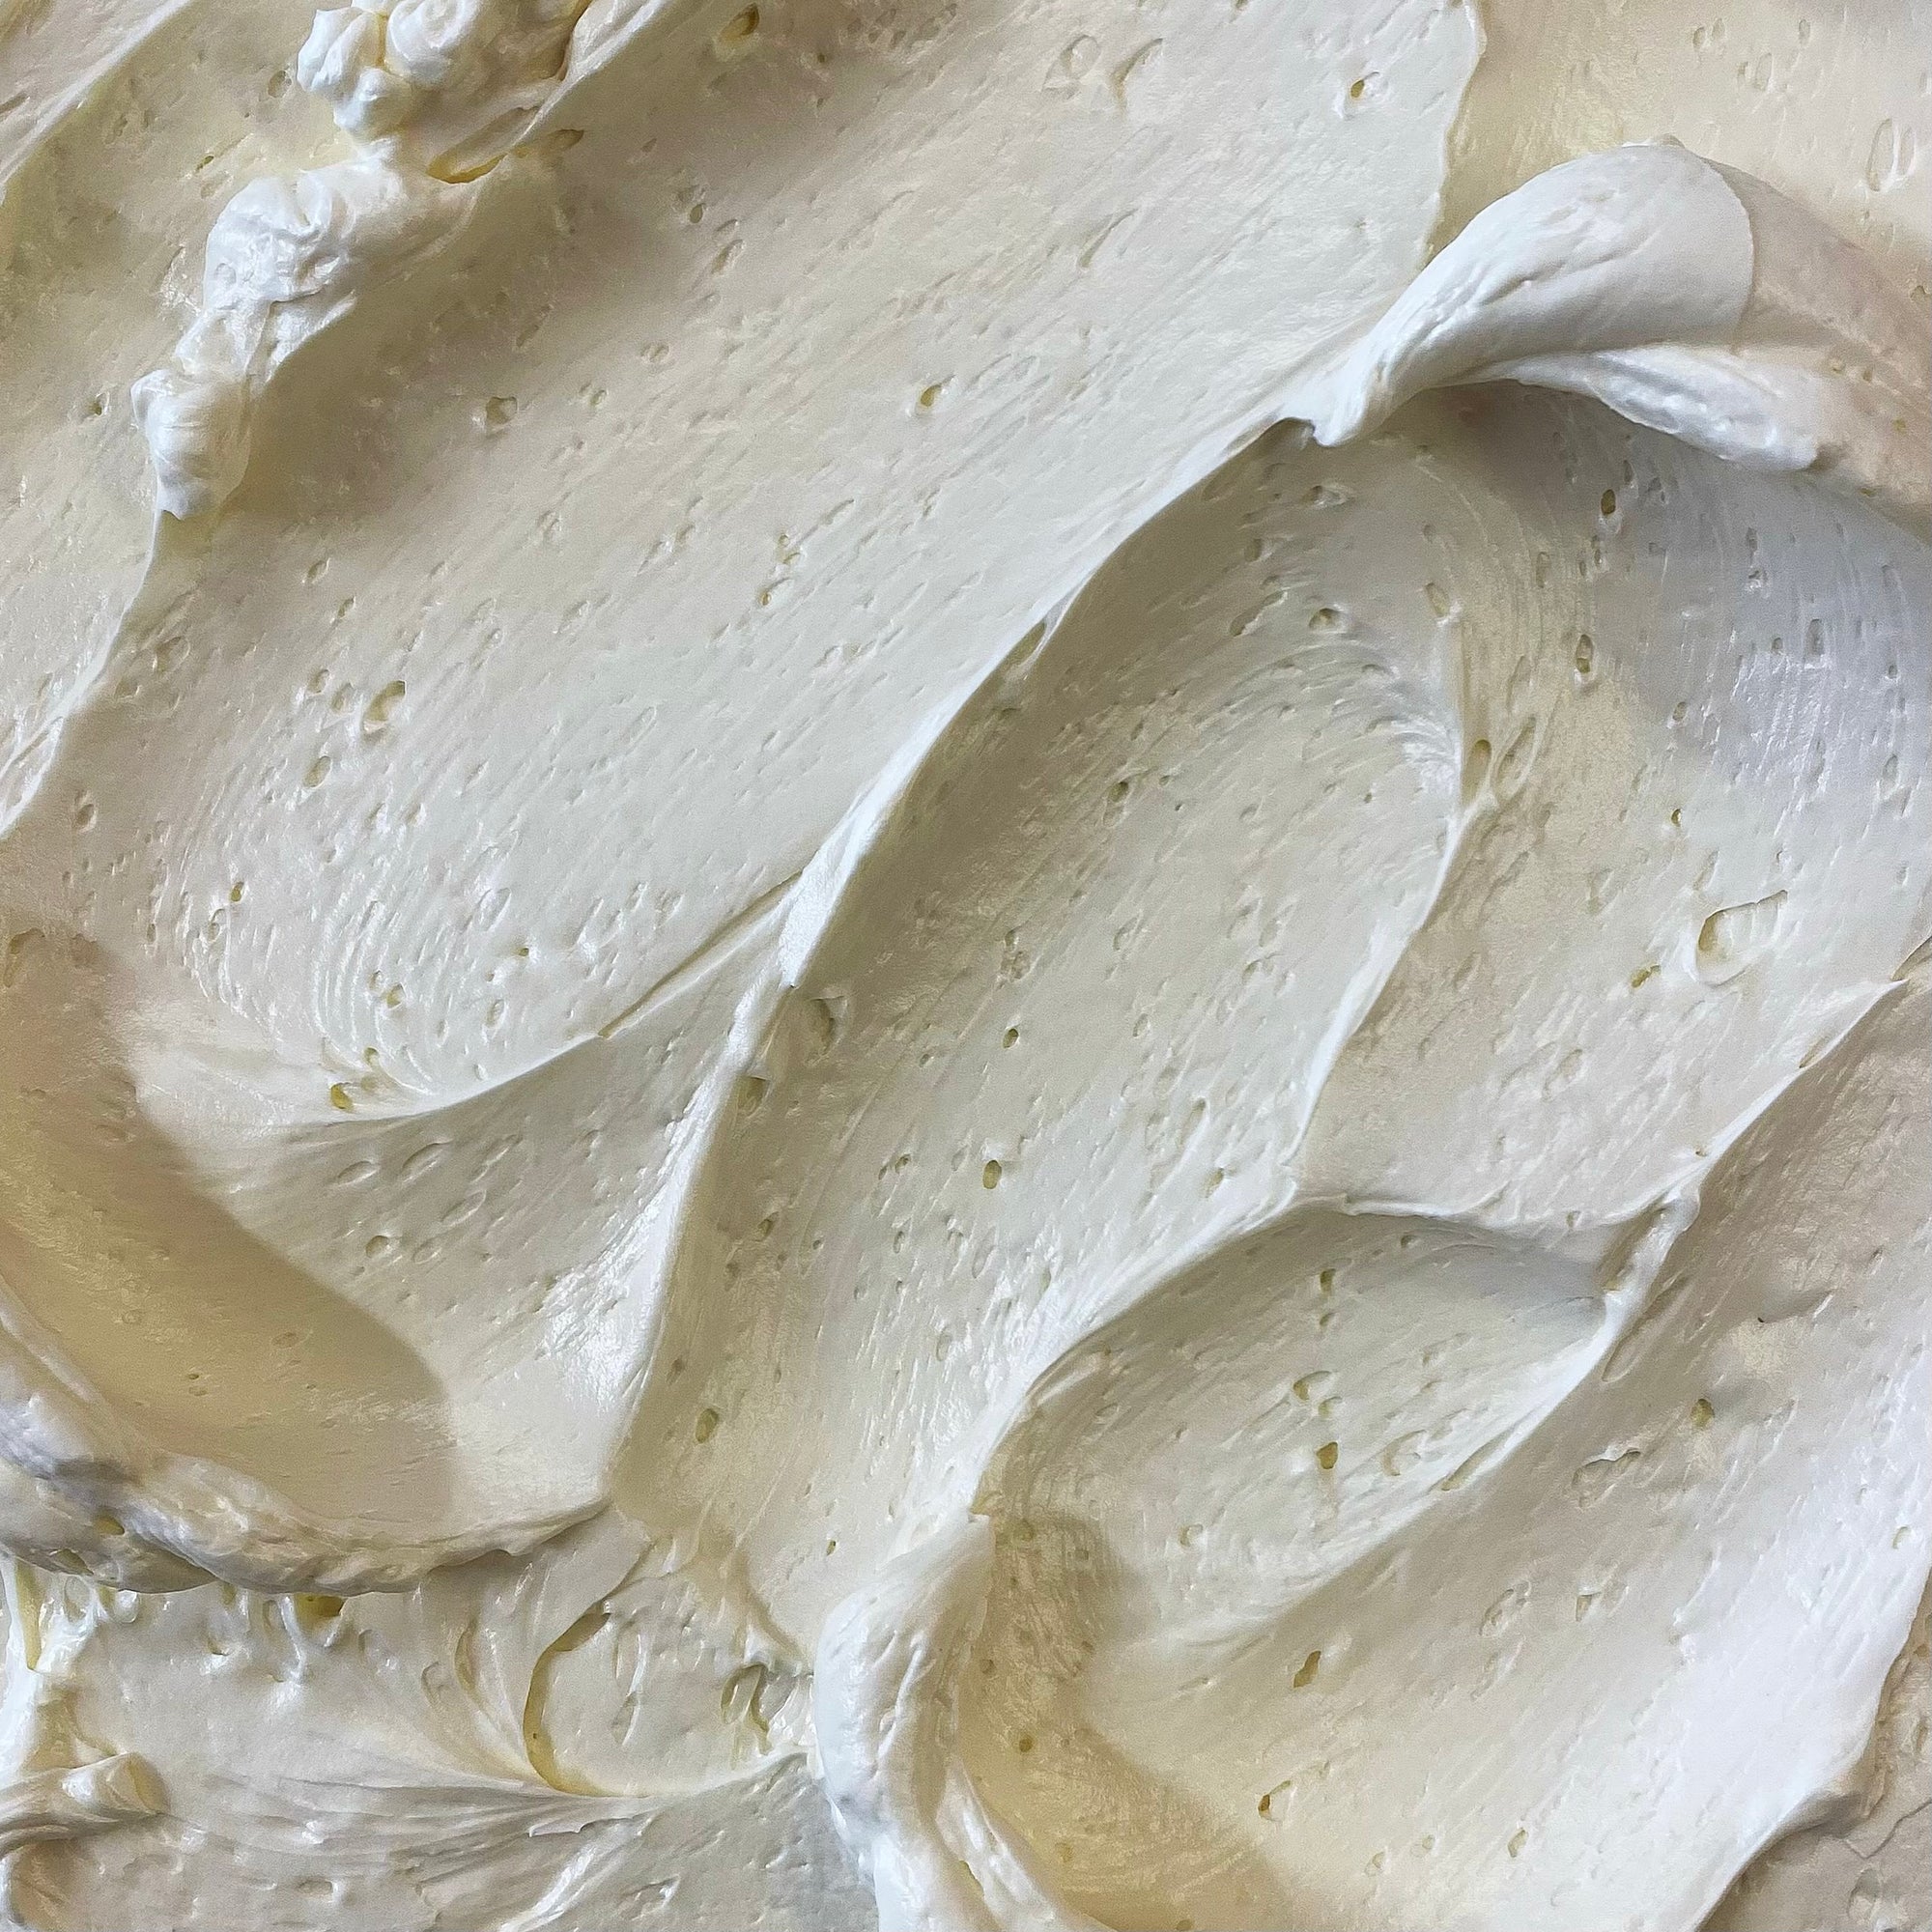
White chocolate ganache naturally looks ivory, not brilliant white. For a cleaner white finish, use edible whitening powder or specialist chocolate colouring rather than watery liquid colour.
The Trick To Picture-Perfect Drips
It always helps to start with a smoothly frosted cake. It helps even more if the frosted cake has had 5 to 10 minutes in the fridge, just long enough for the buttercream to firm up so the warm glaze does not melt it on contact.
Before you start dripping, have all your decorations ready. Once the ganache goes on, you do not want to be rummaging in a drawer looking for sprinkles while your cake slowly becomes a crime scene.

I always use a decorating turntable to make life easier. There is a huge range available, from budget to wildly expensive, but the one I use in the bakery and at home is very much in the sensible budget bracket.
Spoon the glaze along the edge, then go back and nudge it over with the back of your spoon. Think of it as coaxing lava off a cliff. Leave little gaps and keep it irregular. Drips should look effortless, not like they queued up in formation.

Ladle a few tablespoons of glaze onto the uncovered middle, then spread it gently to flood the top evenly. Your white chocolate ganache drip is now ready.

Leave it as it is, or decorate with whatever makes your heart happy.
Nailed it? Tag me @angesdesucre. I want to see. Screwed it up? Tag me anyway, I need the data. And if you cannot be bothered to make it, you can always order one of ours. No judgement whatsoever.
Lots of love,
Reshmi xoxo




Kirsty
August 16, 2020
Finally a drip recipe that actually works. Proper measurements too to make life easier rather than 1 part this to 3 parts that. Awesome 👍