
Making your first ever tiered birthday cake for your baby or child may seem like an impossible feat. But trust in me, and you WILL make the perfect one. If my friend could, with two kids under two - a toddler scuffling around her ankles and a new born on her hip, then anyone can.
Just look at my friend's THREE-tiered wonder. It's her first ever tiered and drip cake using our hero sponge recipe.
 Granted, she had me on call over Whatsapp to tell her what and what not to do. But with a few texts from me, a solid recipe, and the right tools she made a total showstopper!

You know the score with having young kids. You're already in a sleep-deficit, might even have a sieve for a brain, with a never-ending to-do list of life admin. Organising a birthday celebration, even if it's with a handful of guests, is one of those things you really want to do, because it's for your precious offspring, but wow, is it YET another thing to do.
Central to this celebration, is THE CAKE. You want to make the most amazing cake for the memories (your baby will not know/care right now, but trust me they will in the future when you go through the photos with them). You could buy a birthday cake from a bakery, but a) expensive, b) you WANT to make it.
Even if you're not a seasoned or gifted baker, you CAN make the most amazing and stunning birthday cake. I've shared a lot about Fake Bakes, which is all about taking ready-made supermarket items such as boxed cakes, tub frosting and decorations, and putting it together to look like a professional bakery-style cake on a budget. But if you actually want to have a cake that tastes as good as it looks, you will have to bake from scratch. There is no competition - supermarket cakes will always be inferior to home-made cakes. I will share absolutely everything that you need to know, just as I did with my friend, to make your first attempt at making a tiered birthday cake a legitimate Nailed It, and not a Failed It.
The Sponge Recipe
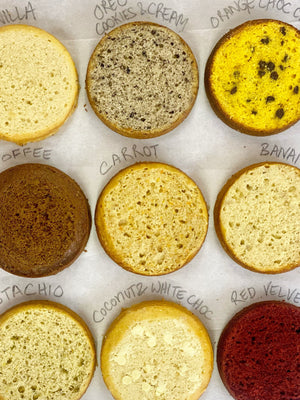
To make a tiered birthday cake, you can use any sponge recipe you have in your arsenal. But if you're not a confident baker, baking from scratch is a DODDLE with our Hero Sponge Recipe. Our recipe is the most versatile with countless flavour options, and cost-effective, as it uses oil instead of butter and granulated instead of caster sugar. It is also super quick, taking less than 10 minutes to prepare, as you do not have to wait for butter to come to room temperature or cream it with sugar. It's also a one bowl recipe, keeping washing up to the minimum. As your first tiered cake, I would suggest doubling the recipe to make 2x 6" and 2x 8" sponge layers. Divide the batter evenly by filling each tin to a depth of 2-3 fingers width.

Once the sponges are baked, let them cool completely before wrapping them tightly in cling film and freezing or chilling in the fridge till you need them. You can do this a few days in advance of decorating.
The Buttercream
You can use any buttercream recipe of your choice. However, our Swiss Meringue Buttercream recipe, whilst being a bit more involved than standard American-style buttercream, is a lot easier to handle and decorate with and can be flavoured with anything from fruit juice and purees, chocolate, Nutella to Oreos.

Investment
You need to have the right tools for the right job. For the whole kit and caboodle, you're looking at a spend of £25. These items last a long-time and once you know how easy it is to make your own show-stopping cake you'll be using them over and over again.
The Decorating Equipment
Cake Boards - You will need a 10" size cake drum (thick board), and 8" and a 6" size cake board. You may be thinking, "Hang on, but I'm only making two tiers! Why do I need three boards?". Because you're not a pro, and you're doing this for the first time, and I want this to be perfect for you. You can wing it with just a 6" board, but it's a lot easier to fill and cover the top tier on a 6" board that's fixed to an 8" board with a dollop of buttercream. You can clean cake boards using a warm damp cloth and store to re-use.
Cake Decorating Turntable - These are non-negotiable for achieving the perfect smooth finish on your buttercream tiers. The ones we use in our professional bakery are the cheapest ones you can find from WILKO or Amazon. They are plastic, light-weight, easy to clean, and have lasted us for ten years and counting. If you aren't convinced, you can make a makeshift turntable by placing a plate over an upturned bowl (although this is dicey with kids around).
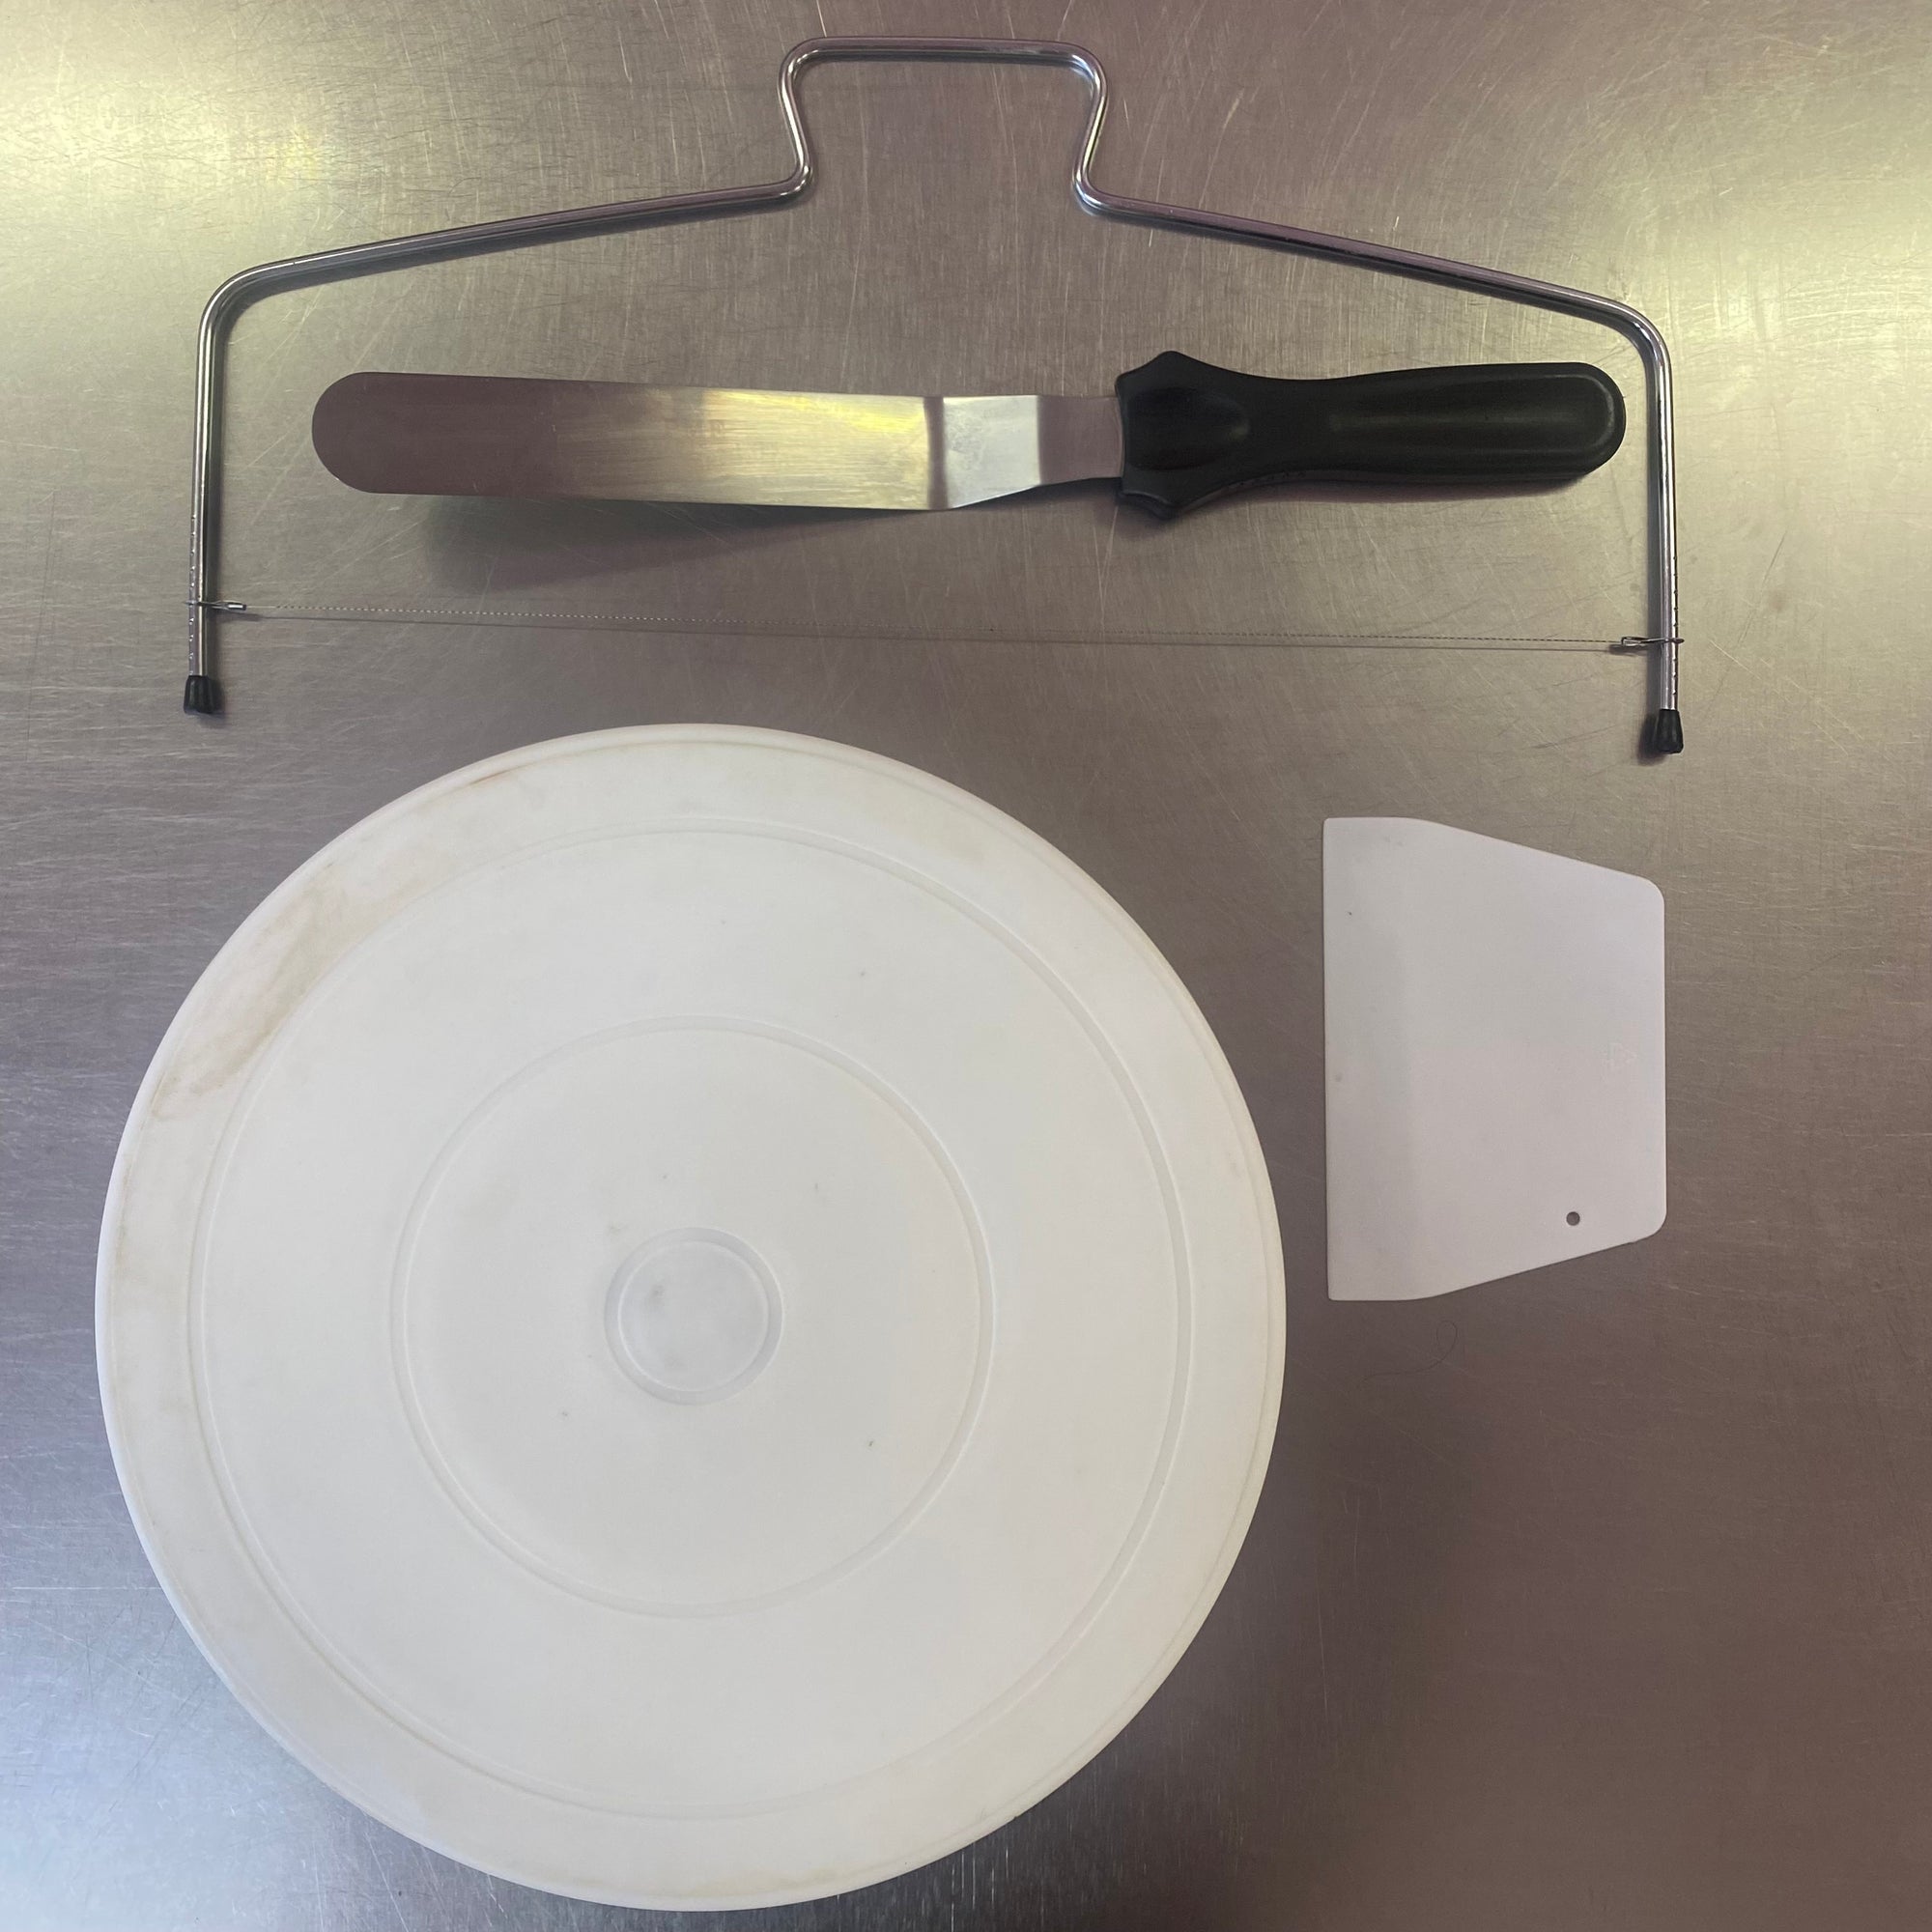
Cake Leveller - Cake sponges rarely turn out with perfectly flat tops. There will always be some doming (which we consider as a baker's perk). You could tort ie trim the tops, using a bread knife and a very steady and level hand. But having a cake leveller takes the stress out of that and ensures you get perfectly even layers. We use KitchenCraft cake levellers in our bakery and they are inexpensive.
Angled Palette Knife - Sometimes called a cranked spatula. The angle makes it a lot easier to spread buttercream evenly on top of layers as you can position the palette knife flat and flush against the layer. We use 13" PME angled palette knives to decorate cakes of all sizes.
Cake Scraper - Whilst you can use the edge of your angled palette knife to scrape buttercream smoothly, it's easier with a cake scraper. We use cheap plastic PME cake scrapers that are light on the wrist and have a fine edge for a super smooth finish.
Paper Straws - Straws work just as well as wooden cake dowels to help support tiers of cake. And paper straws work just as well as normal straws without killing turtles. And you probably already have them stashed away in your kitchen drawers!

Tiered-Cake Technique
1. Place the 8" cake board on the turntable. Smear a dollop of buttercream in the middle of the 8" cake board and fix the 6" cake board on top of it. Smear another dollop of buttercream in the middle of the 6" board.
2. Unwrap the 6" cake sponges and place one on top of the 6" board fixed with the buttercream dollop. Use the angled palette knife to spread a layer of buttercream evenly on top.
3. Place the second 6" cake sponge on top and spread buttercream over and along the sides. Smooth the sides using the cake scraper and place the cake in the fridge to chill. This firms up the buttercream which makes it easier to handle later.
4. Place the 10" cake drum on the turntable. Smear a dollop of buttercream in the middle of the 10" drum. Unwrap the 8" cake sponges and place one on top of the cake drum. Use the angled palette knife to spread a layer of buttercream evenly on top.
5. Place the second 6" cake sponge on top and spread buttercream over and along the sides. Smooth the sides using the cake scraper. Take two straws and trim them to the depth of the 8" frosted cake. You should have 2-4 pieces which can now be used as dowels. Push the dowels into the cake evenly spaced around the centre point. Smear some buttercream over the visible holes. Place in the fridge to chill.
6. Bring the chilled 6" and 8" cakes out of the fridge/freezer. Place the 8" cake on the turntable.
7. Using the angled palette knife, run it in between the two cake boards to release the 6" board with the cake on. Place the 6" cake on the 6" board over the 8" cake. You can spread some buttercream over the bottom edge of the 6" cake and scrape smooth with the cake scraper to tidy up the edges if needed.
8. Your tiered-cake canvas is now ready to decorate!
Decorations
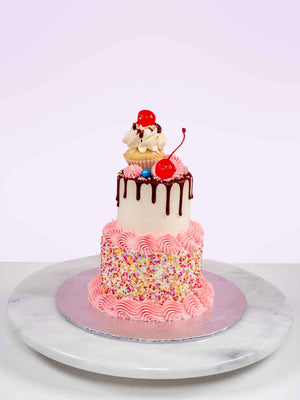
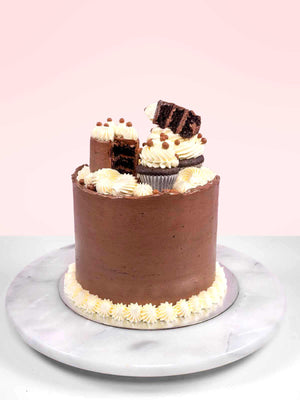
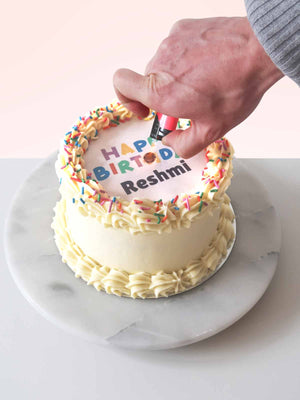
This is where you could spend as little or as much as you want. You could do a simple, but well-executed and stylish, drip cake using techniques I've shown in my fake bakes series by making chocolate ganache.

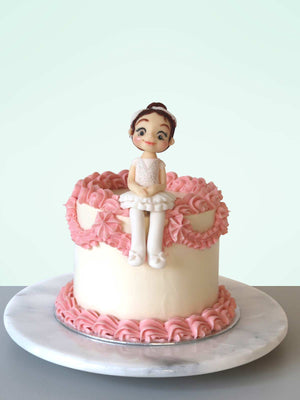
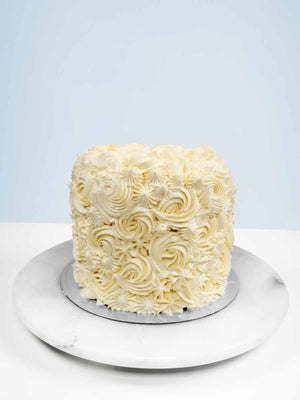
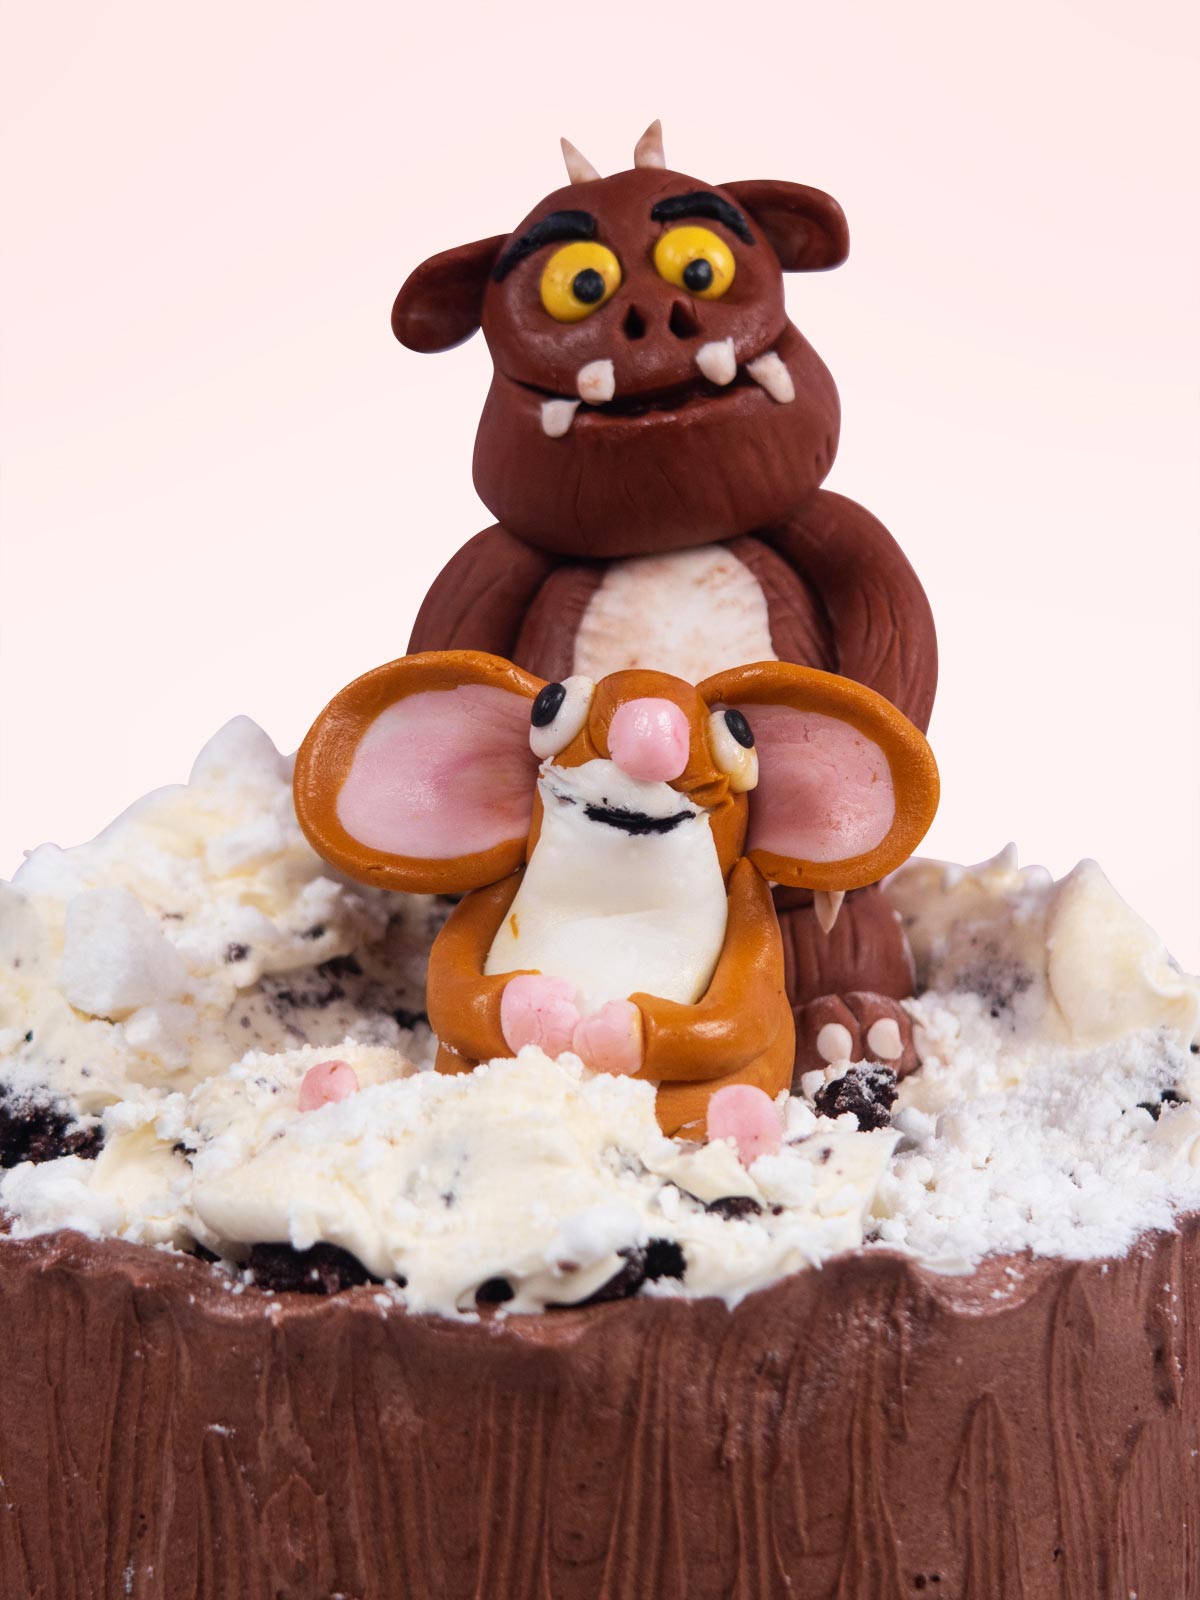
You could decorate with swirls of buttercream using your favourite piping tips, chocolates and fresh fruit. Or like my friend, you could purchase edible fondant cake toppers and cake bunting from Etsy.
I hope this tutorial gives you the encouragement and confidence to go and make your own tiered showstopping birthday cake. Do tag me on Instagram (@angesdesucre) to share your creations! And if everything goes tits up, you know where to buy the cake from ;)
Lots of love,
Reshmi xoxo


Leave a comment (all fields required)